We all want more tomatoes, you can never have enough, and one of the best ways to get more Tomatoes is to keep your plants producing late into the season. But how do you do that? This has been something I have traditionally struggled with; I live in Northern England - a place not known for its long summers. But recently my Tomatoes keep on producing right up until the first frosts of winter arrive, and if I can do it - you can too!

Before we get any further into this article and I lead you down the garden path, so to speak, let me mention something you already probably know. There are two types of tomato plants: determinate and indeterminate.
If you are growing a determinate tomato plant then there is nothing you can do to keep it producing, it is how they function. They grow, set all their fruit at once and then die off - this is their natural cycle. Indeterminate tomatoes can keep producing, infact they can go on producing until cold weather kills them off.
If that subject interests you, I talk more about indeterminate vs determinate tomatoes here.
Step One - Proper Planning
You may not want to hear this, but one of the best ways to keep your Tomatoes producing involves the stuff you do right at the start of the year. So keep this one in your back pocket for next season.
To have tomato plants that grow and grow you need a lot of room, specifically vertical room. Now the easiest way to get around this problem is yo grow your tomato up string rather than staking them. Why is this so helpful? Well, once your tomatoes reach the top of the string you can lower it, giving your plants more room to grow. Let me explain.
Two years ago, I started supporting my tomatoes with string, rather than bamboo canes or stakes. It was so easy and effective that I would never go back to using stakes.
It's Easy To Setup

Getting your supports set up and ready is really simple with string.
You just need something at the top of your greenhouse/polytunnel or even outdoor bed which you can tie some string to.
In my polytunnel, I run a length of string across the top from one side to the other, I then tie a string to this dropping it vertically for each tomato plant.

Once your tomato plant is large enough to need support, you can tie the string around the base. Or you can bury a bundle of string under the rootball of your tomato plants when you first plant them; this is the method favoured by aficionados such as Charles Dowding.
Easy To Train Your Tomatoes

Training your plants to follow the string is super simple. You don't need to tie them in as you do with bamboo canes or stakes. Just twist the plant around the string as it grows. That's it.
If your plant doesn't feel properly secure, you can tie it in whenever needed. I like to use this plant Velcro; it's super simple to use and can be reused as often as you want.
Strong Velcro Brand One-Wrap Garden Ties With Non-Slip Grip Keeps Flowers And Plants Staked, Supported, And Securely Bundled Together
Lay Them Down
This is the key advantage for us when it comes to getting more out of our tomatoes and growing them up string. When the time comes and your tomatoes have grown too large, whether outside or inside, you can release some tension on the string and lower them down.
These tomatoes below have reached the roof of my greenhouse; normally, that would be that. I would remove the growing tip from the plant and focus on ripening what is still on there rather than growing any more tomatoes.
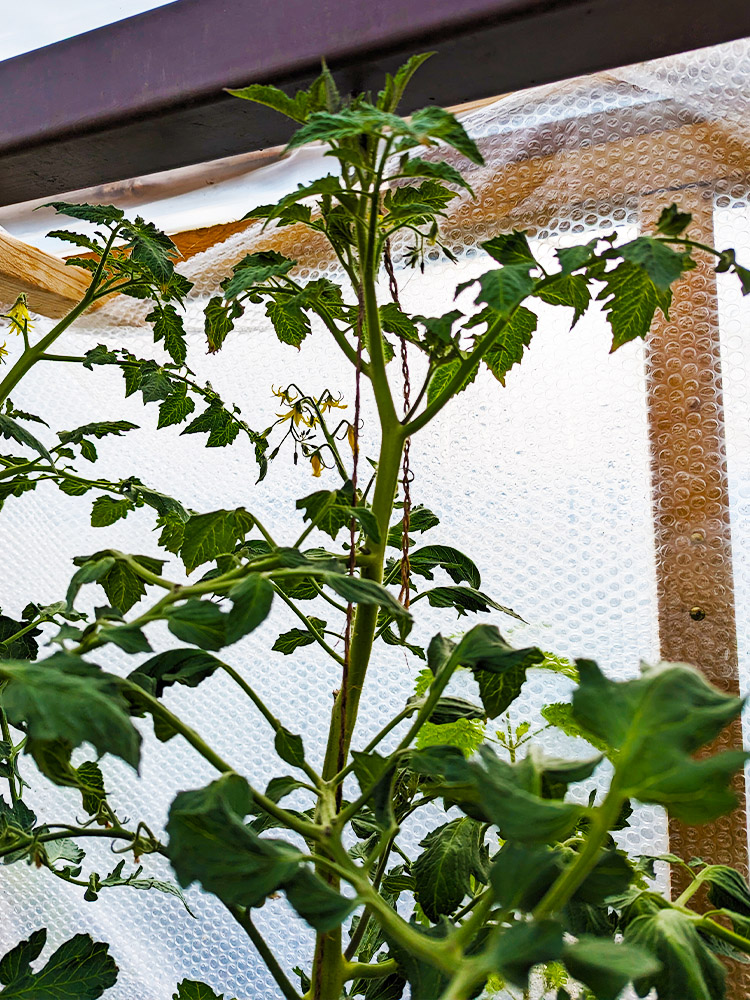
But with the string method, I can loosen the string off and drop the whole plant down.

You then simply lay the plant's stem down along the ground, with the string still supporting it higher up; just like that, you have gained a few feet of growing room!

Step 2 - Proper Fertilisation
Now to something you can do to keep your toms producing: giving them plenty of feed.
Tomato plants are hungry things, especially when producing fruit. So giving them plenty of feed ensures that they have all the nutrients they need to keep on producing throughout the season.
I like to feed my tomatoes in two ways: one, by ensuring they have the best possible soil to grow in, and two, by giving them a little boost every week or two.
For the soil, I add a generous helping of fresh homemade compost every year to where my tomatoes will grow. I add this as a mulch - a nice little bonus is that this also helps keep the weed pressure down.
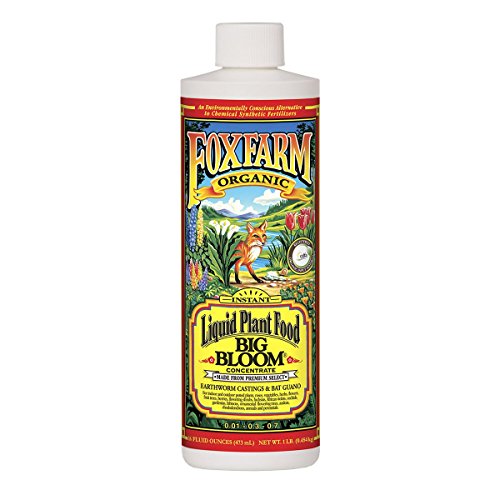
Then, for the feed, I use an organic liquid feed. Something like this Fox Farms tomato feed will do the trick.
Big Bloom is a natural & organic Blossom Builder. Our special, micro-brewed formula incorporates earthworm castings, bat guano & other high test organic ingredients that offer a full range of nutrients. Norwegian kelp improves nutrient uptake & increases yields. Rock phosphate helps transfer energy from one part of the plant to another, which means bigger buds & more fragrant flowers. Big Bloom is ideal for all flowering & fruiting plants & it's safe enough to use every time you water.
Step 3 - Remove Lower Leaves
This is an important step as it helps reduce the chances of your tomato plants getting a disease or fungal infection, which would stop them in their tracks.
The benefits are numerous, and the drawbacks are small. Removing the leaves improves drought resistance, lowers disease risk, increases harvests and improves ripening times - time to learn how.
Increase Air Flow
One of the primary reasons for removing the lower leaves is to increase air flow around the plant.
By removing these leaves, the air can circulate more freely around the plant, reducing the risk of disease.
They Are Not Doing Much
The lower leaves on your plant aren’t doing much anymore. Almost all of the photosynthesis happens in the young, new leaves near the top of the plant.
You Won't Need To Water As Much
The leaves suck up a lot of water but don’t actually do much for the plant. By removing the lower leaves, we reduce the amount of water your plant needs.
Saves Space
Removing the lower leaves saves a lot of space, meaning you can grow plants closer together or grow something under the tomatoes - like I am going here with my peppers.

Pest Spotting
Another added benefit is that it helps to make spotting pests on your plant much easier.
Speeds Up Ripening
Allowing more sunlight to hit the developing fruit also speeds up their ripening time.
When to Remove Lower Leaves
I remove them as the plant grows. As long as there are 5 or 6 branches with young, healthy leaves at the top of the plant, you can remove the lower obes.
You can also remove them as they yellow. Yellowing in lower leaves is caused by nutrient deficiency as the plant sends its food to the growing tip. It is also important to keep things tidy around the base of the stem to reduce disease, stop insects breeding, and increase air flow.
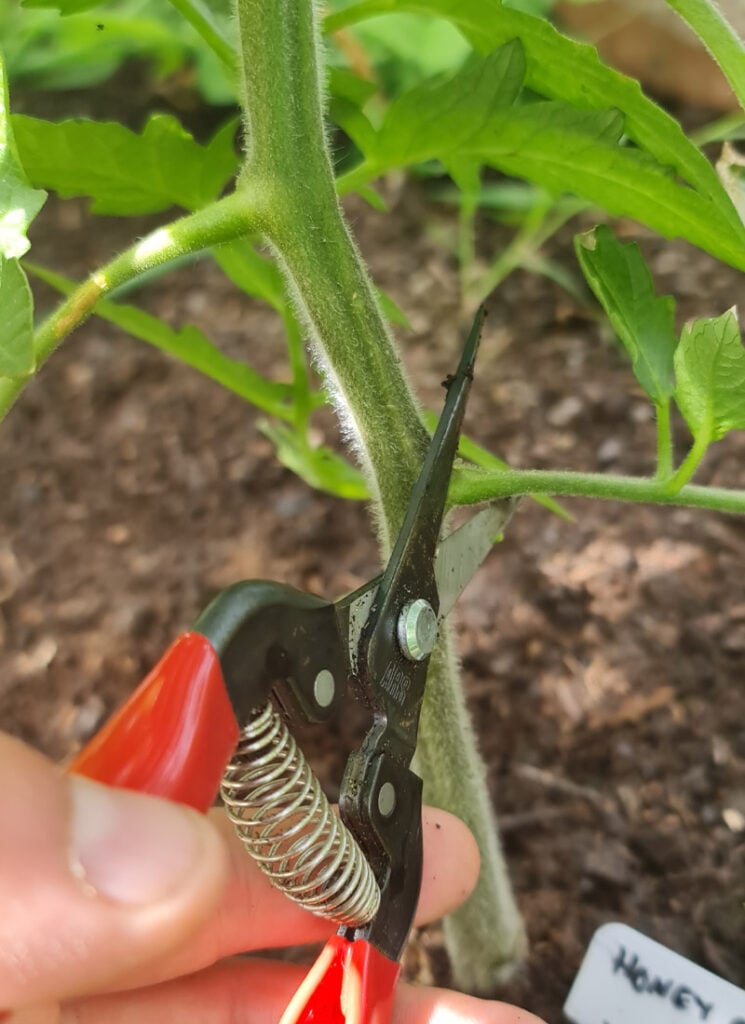
Removal Process
To remove the leaves, gently snip them off at the stem. It's important to remove the leaves gradually rather than all at once, as removing too many leaves at once can stress the plant and affect its overall health.

When removing the leaves, focus on the lower leaves that are closest to the ground.
These leaves are often the first to show signs of disease or damage, and removing them can help to improve air circulation around the plant and prevent the spread of disease.

It's also important to remove any leaves that are shading the fruit, as this can affect the quality and flavour of the tomatoes.

Step 4 - Grow Undercover
This is an essential step for me. Tomatoes struggle outdoors where I live, but for you, it might not be essential, but it could still be a good idea.
Using a greenhouse or polytunnel/high tunnel can add 3-4 weeks to your season at each end of the season. This is massive when it comes to tomatoes, those extra weeks at both the beginning and end of the year can make all the difference.
Growing indoors also helps protect against late-season blight, a real issue for outdoor growers here in the UK.
So, if you haven't considered it, maybe consider growing your tomatoes under cover, even if you live somewhere hotter than me. Those extra feed weeks at the end of fall/beginning of winter may still be worth it.
Step 5 - Pick and Ripen Off The Vine
Did you know that tomatoes will happily ripen off of the vine and don't need to be left on there? What's more, removing them from the plant encourages it to produce even more fruit and also gives it more energy to do so.
One important thing to remember when ripening tomatoes off the vine is that not all tomatoes will ripen successfully. You want blemish-free tomatoes that haven't been damaged at all.
Additionally, it's important to pick tomatoes at the right maturity level - mature does not necessarily mean ripe, and tomatoes that are picked too early may not ripen properly.
Understanding The Tomato Ripening Process
Tomatoes start the ripening process on the vine and continue to ripen after they've been picked because they produce a gas called ethylene.
Many fruits and vegetables, especially bananas, produce ethylene gas, which helps ripening.
Tomatoes ripen in stages, and the timing of each stage can vary depending on the variety, temperature, and other growing conditions. Here are the different stages of tomato ripening:
- Mature Green: At this stage, the tomato is fully grown but not yet ripe. The fruit is hard and has a dark green colour.
- Breaker: The tomato begins to change colour from green to pale green or yellowish-green. The fruit is still firm, but the skin begins to soften.
- Turning: The tomato continues to change colour and becomes more yellow or orange. The fruit is softer and begins to develop a sweet aroma.
- Orange: The tomato is mostly orange with some green areas. The fruit is soft and has a sweet aroma.
- Light Red: The tomato is mostly red with some green areas. The fruit is soft and has a sweet aroma.
- Red: The tomato is fully red and ripe. The fruit is soft, juicy, and has a rich tomato flavour.

Picking your tomatoes right at the breaker stage is a great way to maximise your production and keep those plants producing.
How to ripen your tomatoes off of the vine
Using a Brown Paper Bag
A brown paper bag is one of the most popular methods for ripening tomatoes off the vine. This method works by trapping ethylene gas, naturally produced by the tomato as it ripens, inside the bag.
The ethylene gas speeds up the ripening process and helps to distribute the tomato's natural sugars evenly.
Place them in the bag to ripen and fold the top to seal it. Then, leave the bag in a warm, dry place, such as on a kitchen counter or in a pantry.
Check the tomatoes daily to see if they are ripening, and remove any that have already ripened to prevent them from becoming overripe.
Utilizing a Fruit Bowl
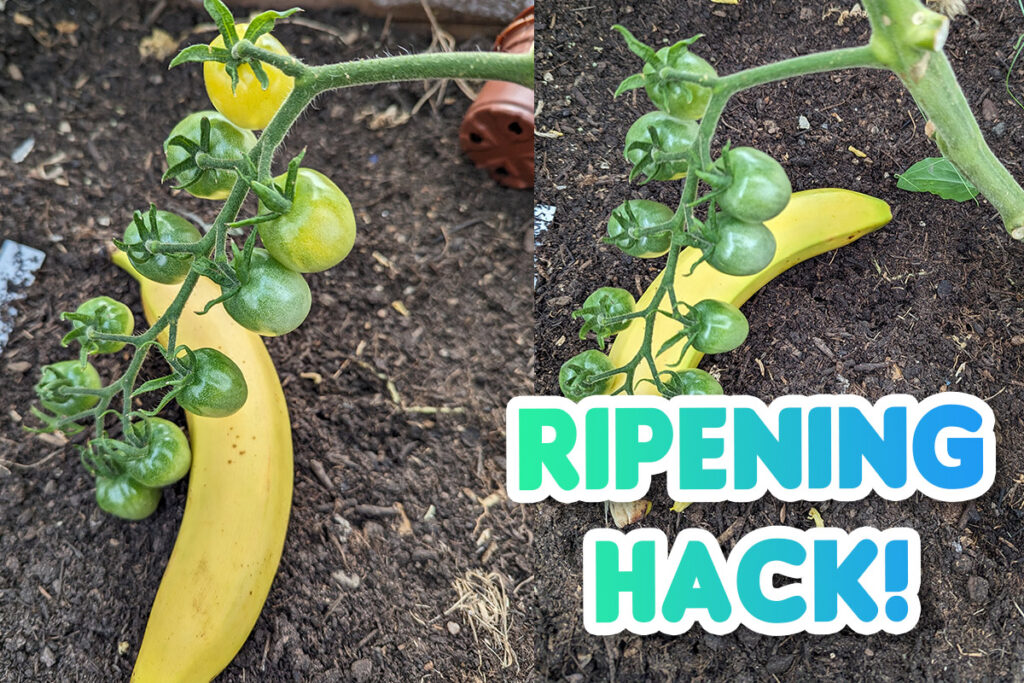
Another method for ripening tomatoes off the vine is to use a fruit bowl. This method works by taking advantage of the natural ethylene gas produced by other fruits, such as apples and bananas, to speed up the ripening process of the tomatoes.
To ripen tomatoes using a fruit bowl, place them in a bowl with other ripening fruits and leave them in a warm, dry place.
Check the tomatoes daily to see if they are ripening, and remove any that have already ripened to prevent them from becoming overripe.
This will be slower than the paper bag method as the gas can escape and is not trapped in a confined space.
The Drawer Methods
A third method for ripening tomatoes off the vine is to use a cupboard drawer. This method works by trapping ethylene gas inside the box, creating a warm environment that is ideal for ripening tomatoes.
To ripen tomatoes using the drawer method, place the tomatoes inside the drawer and pop a banana in there with them. The banana will release a lot of ethylene gas naturally.
As before, check on the tomatoes and remove any ripe ones to stop them from going too far.
Step 6 - Prune Your Tomatoes Properly
You should be doing this throughout the growing season, and proper pruning will lead to a healthy plant that keeps on producing for you.
Removing Sideshoots
Removing side shoots is an ongoing basic tomato maintenance job.
You will often hear this referred to as pinching out. This is because you ideally pinch out the side shoots when they are young, often with your fingernails.

Just nip these little shoots out while they are young. You can use your hands, scissors, secateurs or a nice sharp knife; anything will do.
Why Do We Do This?
Rather than just telling you what to do, I think it helps to explain why we do certain things as gardeners.
Pinching out the side shoots stops your tomato plant from growing too bushy.
If left unchecked, tomato plants like to grow lots of foliage and fewer fruits, as we are only growing them for the fruits, then this is obviously not ideal.

You can see above that a sucker will quickly grow into a full-blown stem!
Removing all of the side shoots is known as growing the plant up a single leader.
All this means is it has one main stem all the way up. You can train them to two leaders by allowing one side shoot to grow into a second stem.
This is commonly done in warmer countries with longer seasons. You will see it on a lot of American-based YouTuber's channels and may think this is how to grow tomatoes.
Growing on a single leader is much more common in the UK. This is mainly due to our shorter growing season and unsuitable tomato growing conditions.
I am, however, running an experiment this year to see whether we get more fruit from a single leader or from two. So sign up for my newsletter to keep up to date with that!
Remove Lower Leaves
The next job is removing the plant's lower, older leaves. Just snip them off near to the stem and then throw the leaves on the compost heap.
Why Do We Do This?
The lower leaves on your plant aren't doing much anymore. Almost all of the photosynthesis happens in the young, new leaves near the top of the plant.
By tidying them up and removing the older leaves, we allow more light in at the bottom of the plant; this is important if we are growing close together or have another crop like basil growing underneath our tomatoes.
The leaves also suck up a lot of water but don't actually do much for the plant. By removing the lower leaves, we reduce the amount of water your plant needs.
This means it can go longer without watering and is also less prone to blossom end rot.
Removing the lower leaves also increases airflow around the plant, minimising the risk of fungal infections.
Another added benefit is that it helps to make spotting pests on your plant much easier.
Cutting Leaves In Half
This is something I often do lower down the plant if it has any huge leaves.
Making the leaves smaller reduces the amount of water loss, meaning you need to water less, and your plants are bottle able to survive dry spells.
It also helps open the plant up and reduce the risk of disease and make pest spotting easier.
And it also helps let more light into any plants growing under your tomatoes, I like to grow basil here.
It is very similar to removing the leaves but not as drastic; if your plant has put out some monster leaves, then give this trick a try.


Ian MacAulay says
I often replant the side shoots and they go on to grow as well and sometimes better than the parent plant. Just pop them into moist potting compost as deep as possible and within a week they root. They quickly catch up in growth.