If you’re eager to get a head start on your potato crop, chitting is a simple method of getting a little headstart. Chitting, often called "pre-sprouting," helps seed potatoes grow small shoots before planting. This process is believed to speed up the growth of your potato plants.
What Is Chitting?

Chitting is when you let seed potatoes sprout indoors, before planting. Starting growth in a warm, controlled setting helps your potato plants get a head start for the growing season. These early sprouts, called "chits," show that the seed potato is ready to burst into life when conditions are right.
One of the primary advantages is that chitted potatoes tend to establish themselves more quickly once planted, allowing them to reach harvest sooner. This early development often results in stronger plants that are more resilient and can produce a higher yield.
Starting the process indoors helps avoid early exposure to soil-borne diseases and pests. This gives plants a protective buffer during their most vulnerable growth stages.
Timing is critical for successful chitting. I usually begin chitting my seed potatoes about 4–6 weeks before my last frost date. For me here in Lancashire, the last frost date is around the middle of April so I often start chitting in March.
Internationally (I know I have a lot of readers in the USA!) then in cooler areas, start a bit sooner before your expected last frost. This gives the sprouts time to grow and strengthen - but keep them indoors until the risk of frost has passed. In warmer regions, wait until after the last frost, you won't need to take as much risk.
How To Chit
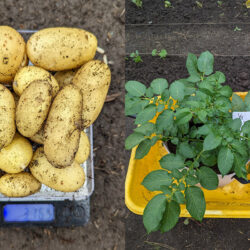
The first step in chitting is selecting the right potatoes. It is important to choose healthy tubers that are firm and unblemished. Larger seed potatoes are often preferred because they typically produce more chits, giving you a better start in the garden.
If your seed potatoes are large, you can cut them into pieces, making sure that each piece has at least one or two “eyes” where sprouts will emerge. After cutting, allow these pieces to dry for a day or two so that a protective callus forms over the cut surfaces. This callusing process helps to prevent rot when the pieces are eventually planted.
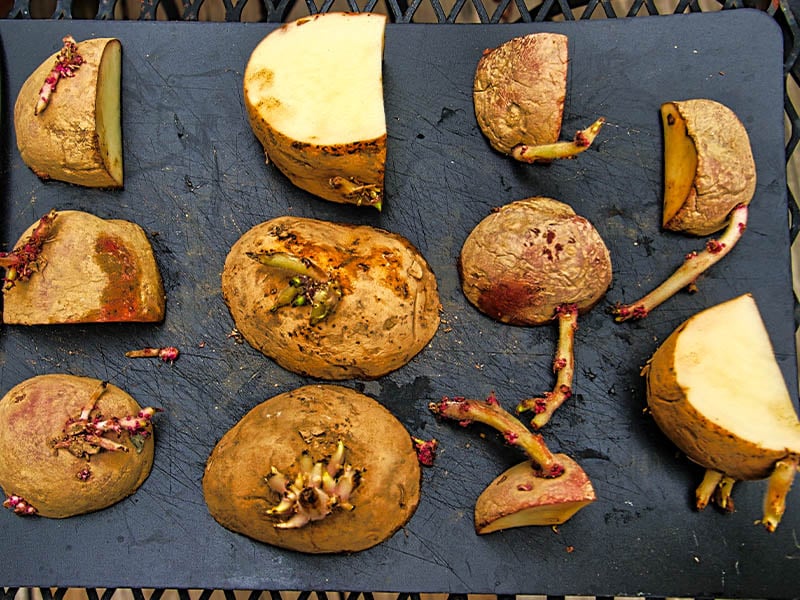
I tested this a few years ago. The harvest from each chunk was smaller than a whole seed potato. But the overall harvest from all the "chunks" was larger.
Does Cutting Seed Potatoes In Half Lead To A Bigger Harvest?
I ran an experiment to see whether cutting seed potatoes in half affects the harvest, click to read!
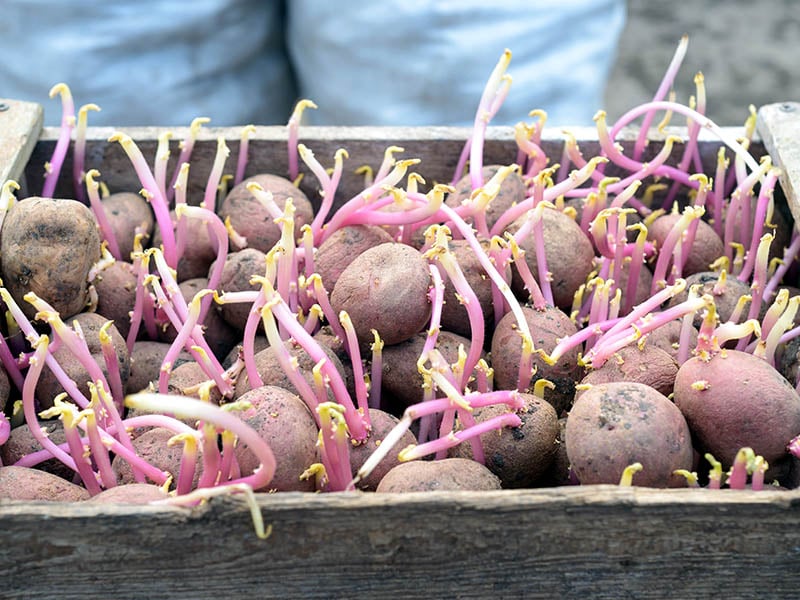
Next, prepare a container for the chitting process. You can use a shallow tray, a box, or even an egg carton to hold your potatoes. The key is to position the potatoes so that the “eyes” are facing upward, which encourages the sprouts to grow in the desired direction. Place the container in a cool, well-lit area where it will receive plenty of indirect sunlight. A windowsill with ambient light is great, but watch out for direct sunlight. It can make the potatoes too hot and slow down sprouting.
Once your potatoes are set up in their container, it’s important to monitor them regularly. Over the course of 2–4 weeks, you should begin to notice small, white/green/red (depending on the variety) sprouts emerging from the eyes of the potatoes. Aim for sprouts that are about 1–2 centimeters long before you plan to transplant them into your garden. Allowing the sprouts to grow too long might make them more susceptible to damage during the transplanting process.
Planting Chitted Potatoes
Some people advocate for hardening off chitted potatoes, but for me this is simply too much. They really don't need it, after all they will be planted under a nice blanket of soil!
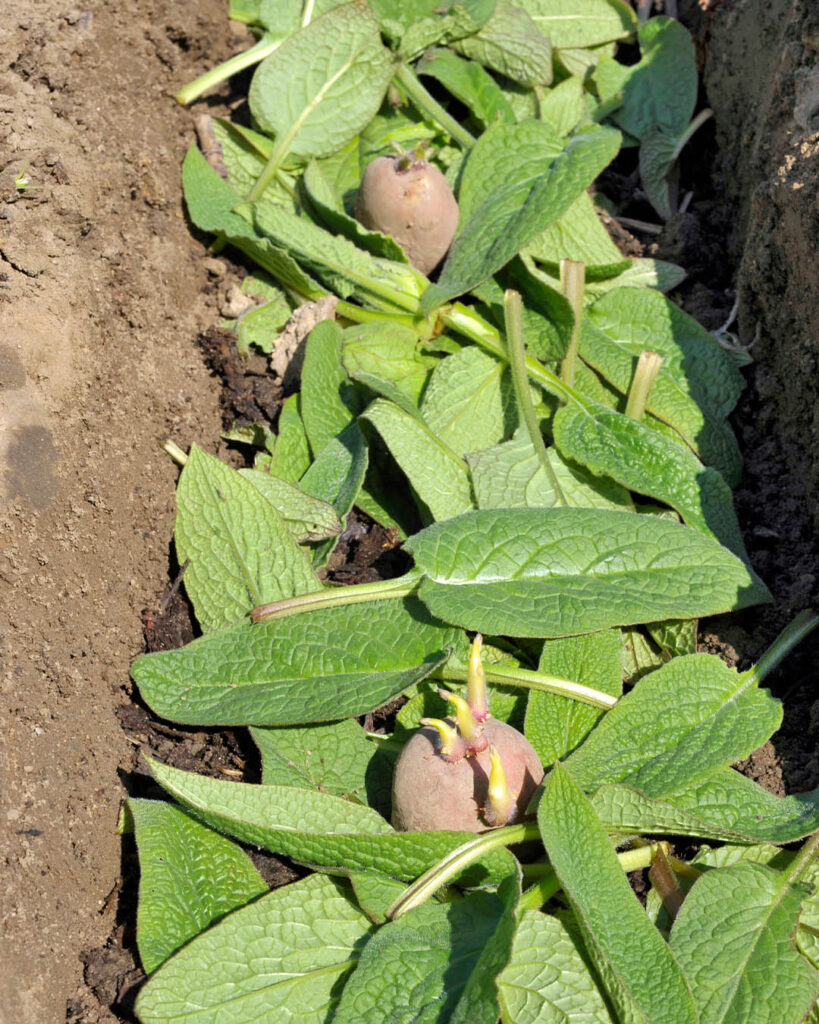
Once the risk of frost has passed and the soil has warmed sufficiently, you can proceed to plant the potatoes. When planting, dig trenches or holes. Place the potatoes with the sprouts facing up. Lightly cover them with soil, then water well to help roots grow. Plant them 6–12 inches (15–30 cm) deep.
Be careful when covering with soil as you could break the sprouts off - undoing all of your hard work. This is especially true if the sprouts have gotten a little long.
While I have given a lot of advice here the best gardeners learn from experience. Keeping detailed records of chitting dates, transplanting dates, and eventual harvest times can provide valuable insights for your garden or allotment. Over time, these records will help you adjust your schedule and techniques based on local weather patterns and your harvests!
In addition to planning, consider the importance of rotating your potato stock if you chitt regularly. Crop rotation can help prevent the buildup of pests and diseases that might otherwise affect your potato crop year after year.
Do You Need To Chit Potatoes?
The short answer is no, you don't need to chit potatoes. This process gives you a head start and leads to a harvest that is a couple of weeks earlier than if you don't chit.
But it is not essential, if you are a little behind and have forgotten to chit your potatoes then just plant them anyway and they will grow just fine.


Mary says
Why have you packed the chits with comfrey leaves?
Daniel says
Just an easy, natural way of adding some fertiliser right where the roots need it
Ken Willoughby says
Never ever heard of planting up to 1ft deep, 4" in recommended. Your not correct on this matter. Ohh, and I've been growing over 50yrs.
Rajen says
Thank you for the thorough tutorial, complete with research, trials, and comparisons. This truly presents a groundbreaking method for achieving a high yield. It’s definitely worth trying.
Daniel says
Thanks! 😀