Starting seeds is one of the most exciting parts of gardening. It marks the start of a new growing season. Most methods for indoor starting use plastic pots. But, soil blockers are gaining popularity among gardeners. But what are they and should you be investing in one?
Soil blockers are tools that pack seed-starting soil into blocks. These blocks stand alone and act as separate containers for seeds. These blocks eliminate the need for plastic pots. They hold their shape due to the soil's compression and moisture.
One of the most significant advantages of soil blockers is their eco-friendliness by eliminating the need for flimsy plastic pots (we all know these are the first things to crack and break!).
But a much more interesting area for me is that, in theory at least, soil blocks promote better root health. Unlike classic seed trays, where roots can get "root-bound," soil blocks encourage air pruning. When roots reach the block's edge, they stop growing. This fosters a strong, healthy root system and reduces transplant shock.
You also won't damage the roots in any way when trying to get them out of a seed tray as they aren't growing in anything. Simply pick them up and pop them in their new home with zero root damage.
You can save money and space with soil blockers. Although there's an initial cost to buy one, you won't need to purchase seed trays again. You also don't need to store those extra pots - hence the space-saving.
The Downsides
Of course, as with all things in life, there are drawbacks to soil blockers. let me get into them now.
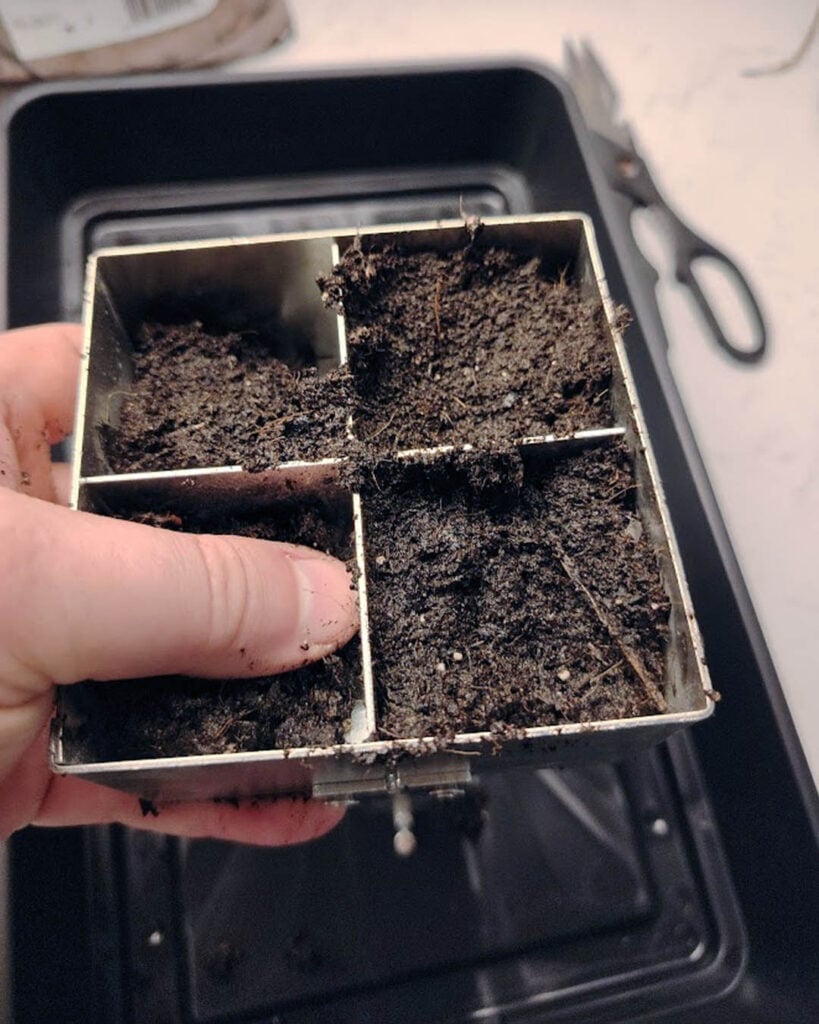
The first drawback is the extra time. This method takes much longer than simply filling a cell tray. First, you must wet your soil mix to the right consistency. Then, push it into the soil blocker. Line it up and push it out - four at a time! (some soil blockers are larger but most of the non-commercial ones create 4 blocks at a time).
Then there is the soil mix. The soil mix must balance moisture and structure to hold its shape. Perfecting it can take some practice. Beginners might feel frustrated by this at first. However, with practice, it soon feels natural.
Another consideration is the initial investment. While soil blockers are durable and long-lasting, their upfront cost may be a barrier for some. However, many find that the benefits outweigh the expense over time.
Another challenge is the need for consistent moisture management. Soil blocks are more exposed to air than traditional pots, which means they can dry out quickly. You must monitor the blocks closely and water them frequently to prevent seeds from drying out.
Step-By-Step
First, you need to add your seed starting mix to a watertight bowl or bucket and then add water.
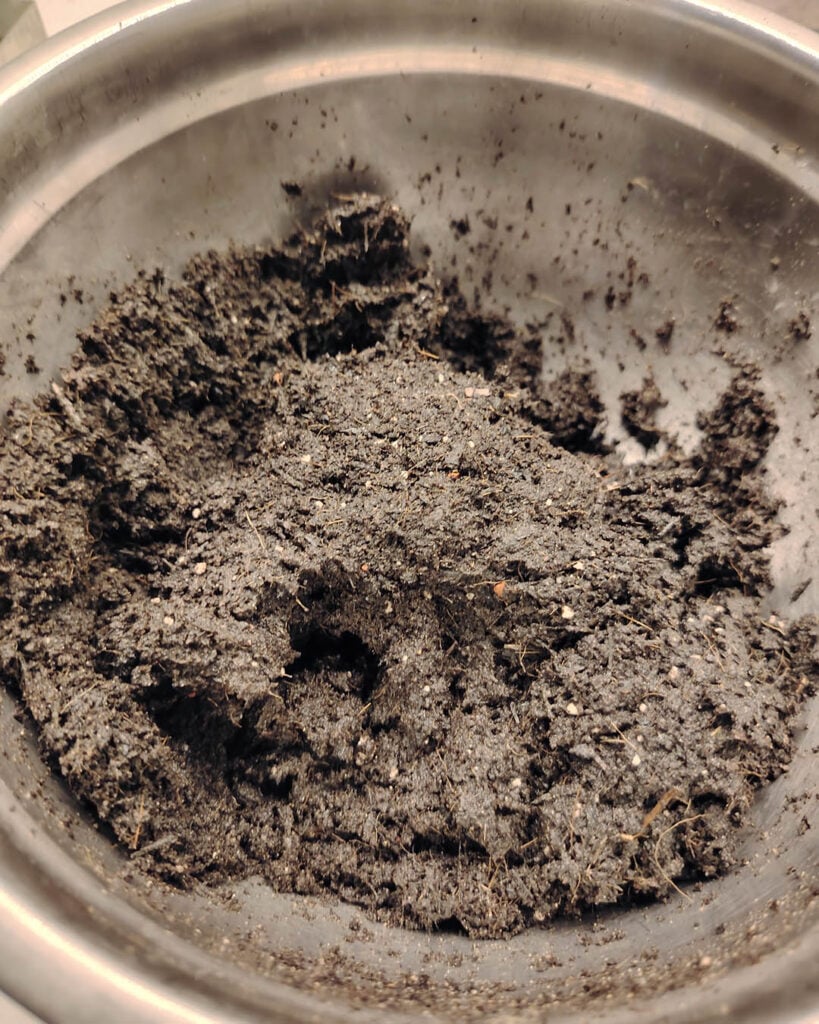
You want a mix that will hold its shape when squeezed but that isn't too wet. If water is dripping out when you try and shape it like above then it is too wet, add some more soil and try again.
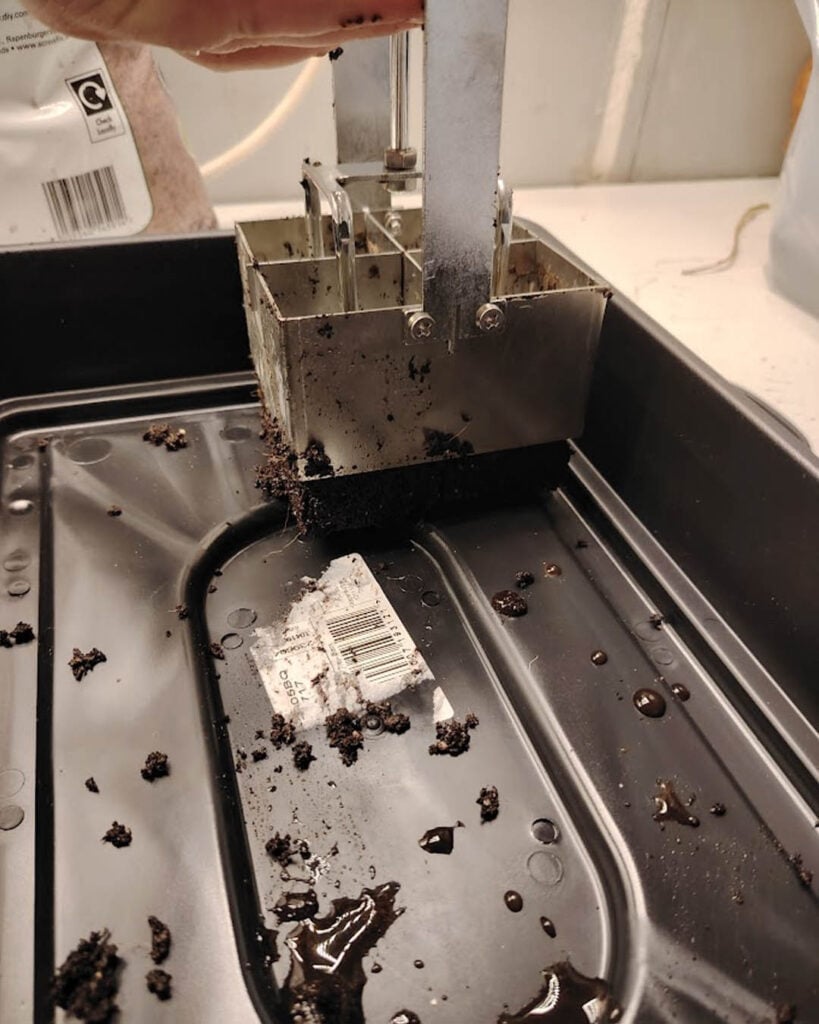
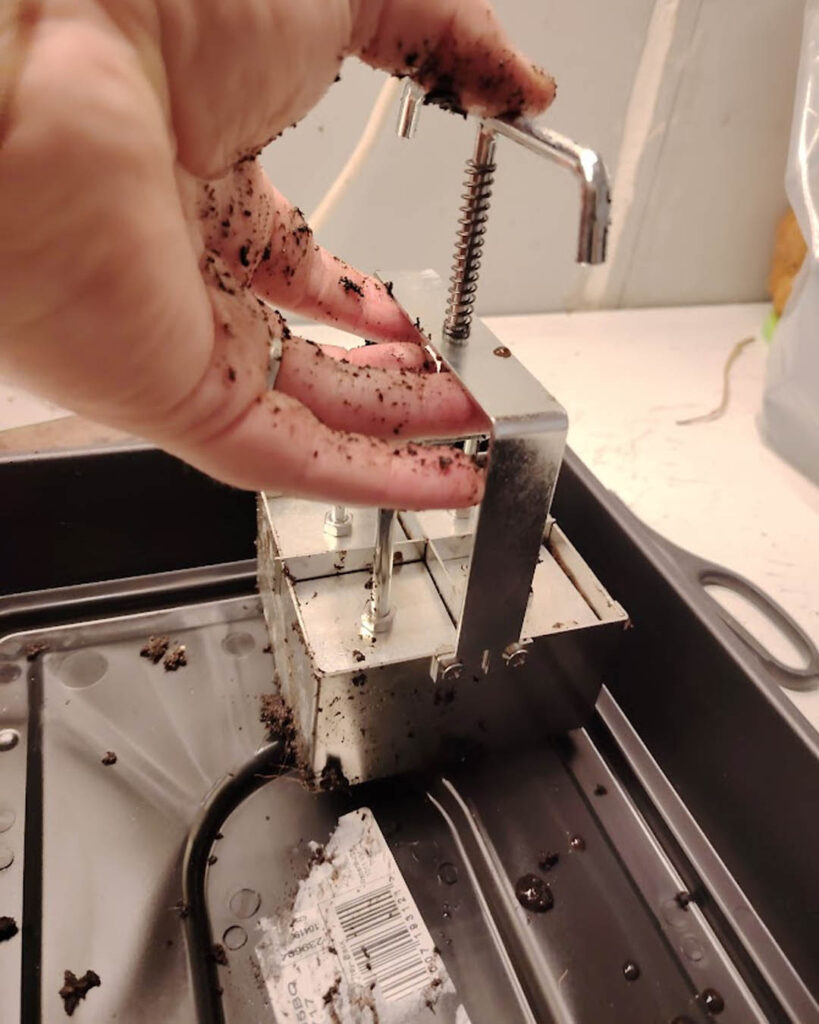
Once you are happy with the consistency you need to place it into the soil blocker from the bottom. This is why you need the soil to be able to hold its own shape, otherwise, it will all fall out when you come to turn it over.
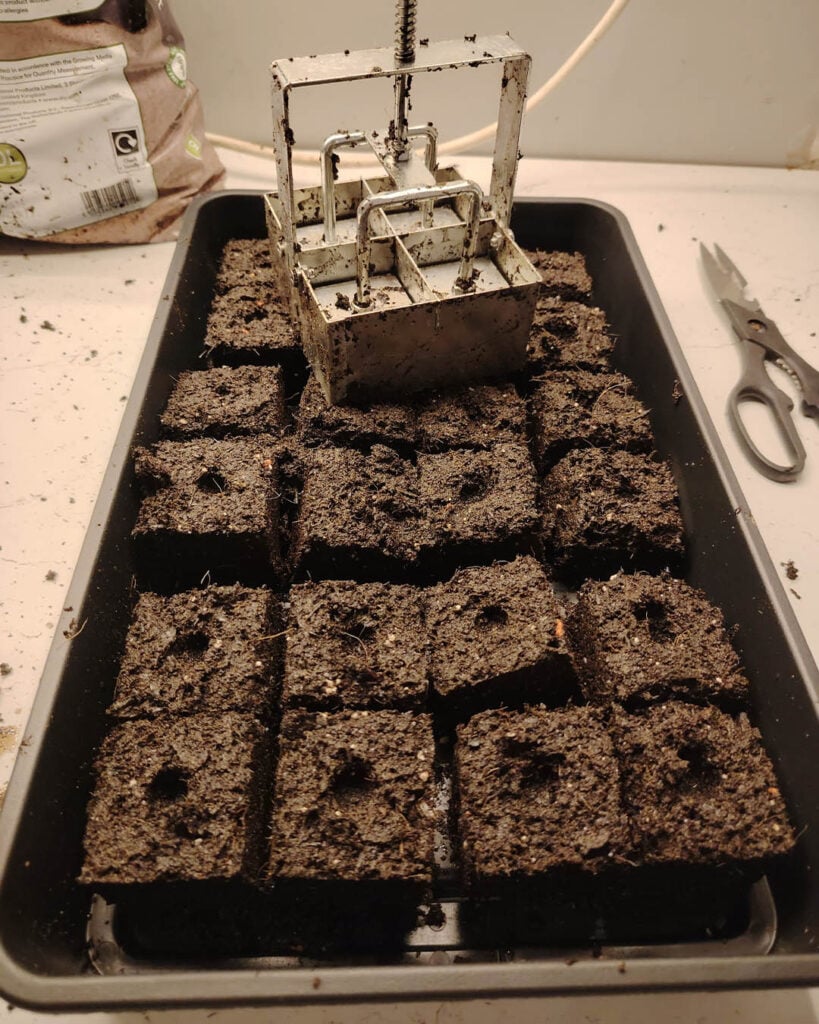
Then you need to flip the soil blocker over and arrange it on your seed tray where you want the soil blocks to be.
Once in the correct position press the handle down and lift the blocker gently away, leaving your soil blocks behind in the tray.
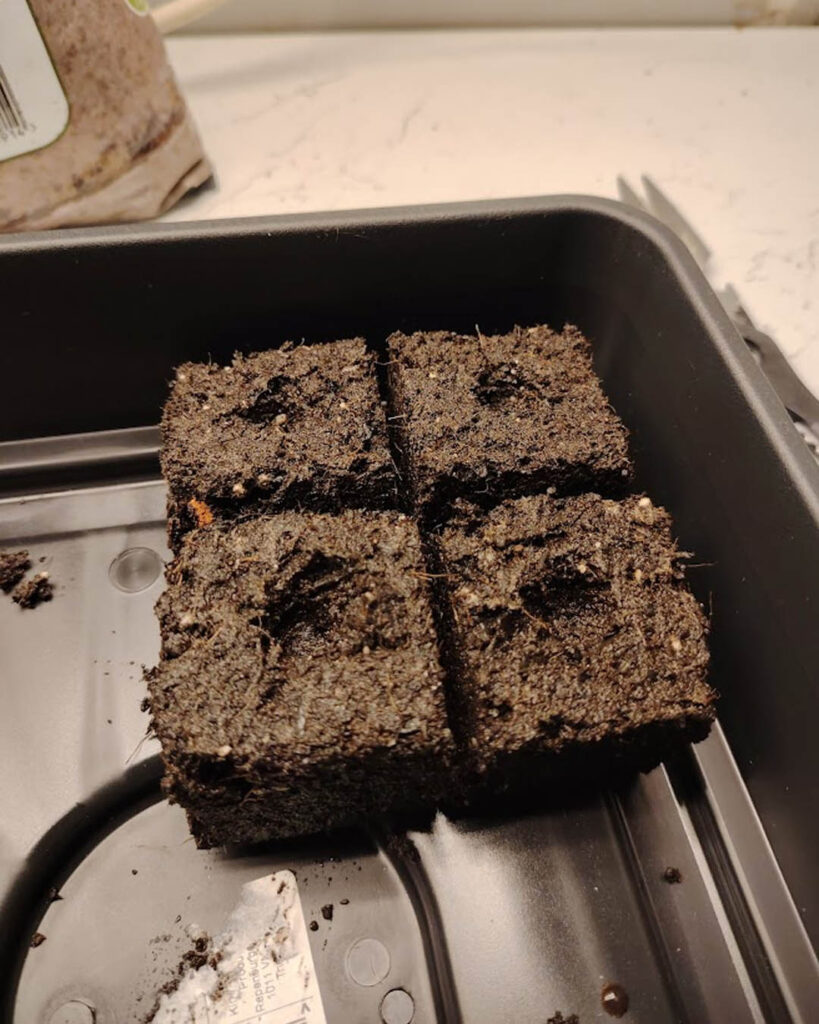
Then simply rinse and repeat until you fill your tray!


Leave a Reply