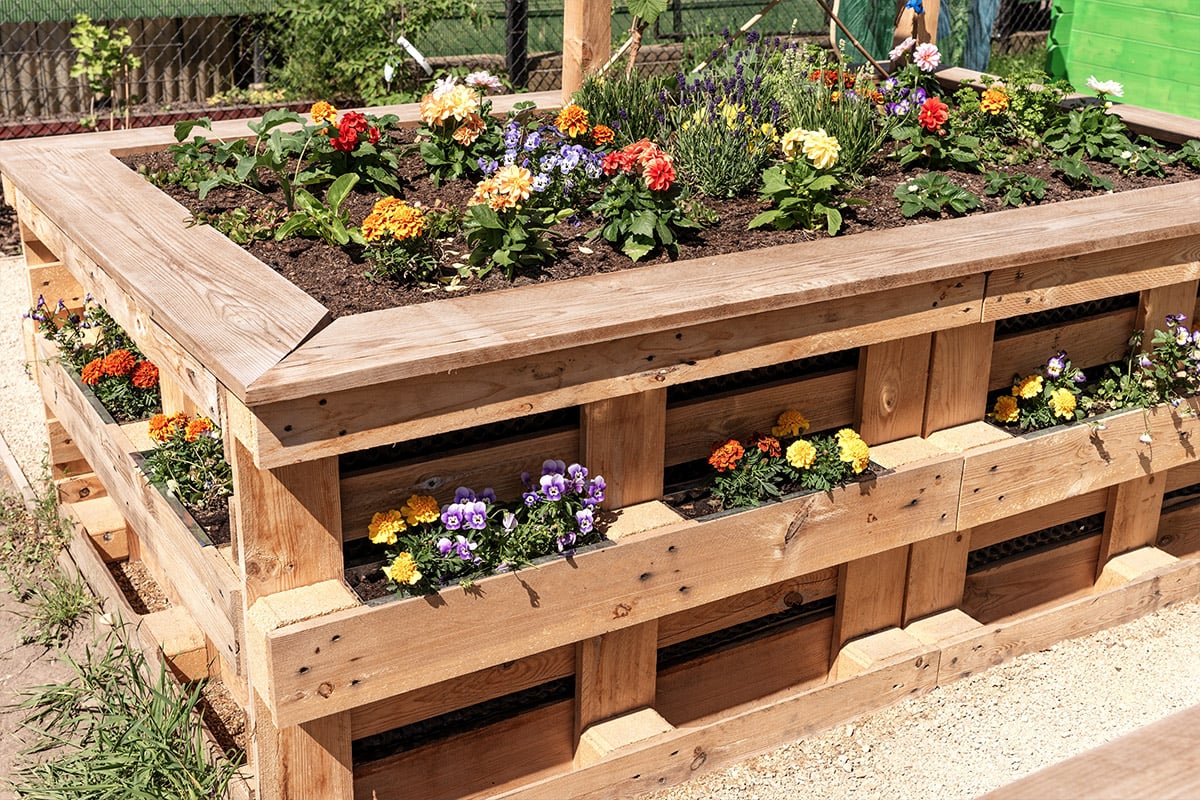
These are by far the easiest and most economical raised beds I have ever constructed, you can have them made and ready to start planting in a matter of hours.

You only need 2 long timber rails for the sides and 2 shorter bits to form the ends. We used rough-sawn 6”x1” timber as it is cheap and readily available.
We used 2”x1” slate battens cut to 1’ foot long with a point on one end, these help to anchor the raised beds to the ground. For our size of planter, we needed 6 in total!
Start by fixing a pre-cut (12”) peg to the end of your shortest 6” x 1” rails. Make sure the peg is flush and square with the rail's end.

Repeat this process at the other end of your shortest rail and you will have a planter end that looks something like this…….

Then do the same thing on the other short rail and you have already made the two ends of your planter.
With both (short) ends now constructed, you can attach the long sides to the pegs, making sure to keep the boards flush at the corners. You will notice that each corner is incredibly strong.

Now we have completed one end of the planter; we can repeat the same procedure for the bottom to form our rectangular raised bed.

To stop the planter from bellying out, we added a peg in the middle of the long sides of our planter.

To help keep the planter square while we moved it into its final location, we added some diagonal braces.

The brace connects a side to an end, this ensures the planter does not twist or move as we get it into the right position and helps keep everything in line as we knock the pegs into the ground.

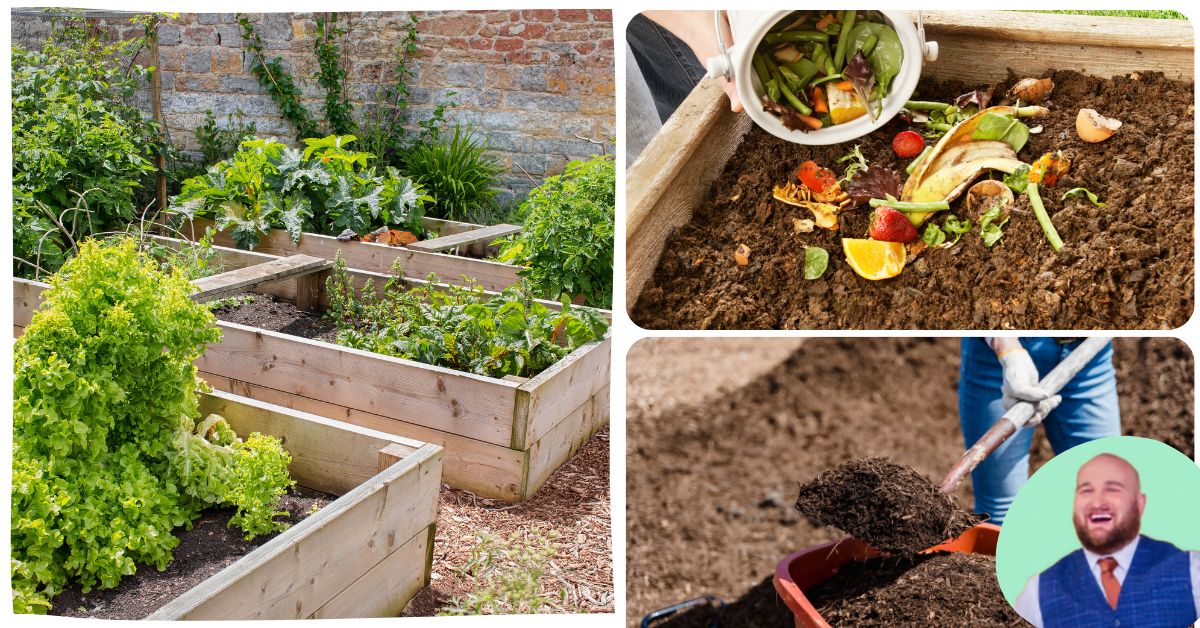
This is the final planter; once we have picked out an ideal location, we can knock the pegs into the ground, remove all the braces, and start beading up!


Leave a Reply