Knowing the appropriate time to sow your
It is advisable to sow
For me, in northern England (Zone 7), this is early May, but the date can vary by quite a few weeks depending on where you are exactly.
Sowing Indoors
Should you start your seeds indoors? This is an important question, and if you live in a zone with a late last frost date, then you really don't have much of a choice.
To answer the question once and for all, I'm here to tell you it depends... you see, it all comes down to how much space you have to grow your tomatoes. They will grow quickly, particularly if provided with artificial light.
The question is, do you have enough space to accommodate larger plants? If you do, then sow as early as possible; if not, then wait until 4-6 weeks before your last frost date.
Growing tomatoes for indoor environments such as greenhouses or tunnels usually takes around six to eight weeks from seed sowing to transplanting.
What Do You Need?
Sowing tomatoes indoors is more complicated than just growing them outdoors or sowing in a greenhouse.
Seed Trays and Containers
You'll want to start them in seed trays or module trays before potting them up into individual pots when they develop their first true leaves.
I like to use a heated propagator for my tomatoes, chillis and eggplants. This gets them off to the perfect start and you will find your germination rate to be really high!

Grow Lights
In the UK (and many other places in the northern hemisphere), the sunlight during early spring may not be sufficient for growing tomatoes indoors. Artificial grow lights can provide the necessary light to encourage strong growth.
Heated Mats
Tomato seeds need warmth to germinate, and during the early spring months, even a windowsill might not be warm enough. Heating mats can help maintain an optimal temperature for seed germination.
- Waterproof heating mats: These are designed to distribute heat evenly, promoting consistent germination rates for your seeds. Place your seed trays on the mat during the germination process.
- Thermostat controls (optional): Some heating mats come with thermostats that allow you to control the temperature, ensuring optimal conditions for your
tomato seeds .

When To Sow Your Seeds Indoors
| Zone | Date |
| 3 | April |
| 4 | March/April |
| 5-6 | March |
| 7 | Feb/March |
| 8-9 | Jan/Feb |
| 10 | Jan |
These are my rough dates for seed starting indoors by zone. Of course, this isn't some must-follow guide; rather, these are just guidelines.
And the weather any year can vary, so don't feel shackled by the rules.
Start a few seeds early if you get that itch and need to start sowing - I won't tell!
When To Sow Your Seeds Outdoors
In the colder zones, you will need some help to get your seeds started outdoors. A greenhouse, cold-frame and propagators are essential equipment.
| Zone | Date |
| 3 | May - Weather Dependent (Might Need Extra Help!) |
| 4 | May - Weather Dependent (Might Need Extra Help!) |
| 5-6 | April - (Might Need Extra Help!) |
| 7 | April |
| 8-9 | August |
| 10 | Sept - Dec |
My Indoor Seed Setup
Here is everything I use for my indoor seed-starting setup!
- Artline Garden Marker
- Height Adjustable Grow Light
- Propagator Trays
- Heated Seed Mat
- Coir Seed Compost
All of the links above are affiliate links. I earn a small commission from Amazon for any purchase through these links.
Steps to Start Tomatoes Indoors
Sowing Seeds
I like to fill up my propagator trays with coir, but the stuff with a bit of added fertiliser in.

I like coir as you can easily store the blocks indoors without worrying about any mess. It is also steralised, making it perfect for indoor seed starting.
I then put this soil into my propagator trays, filling them up to the top.
I like to use the trays below with the flexible bottoms, almost like an ice cube tray. This makes it really easy to push the seedlings out once they are growing.

I then place one seed per module, leaving them on the surface of the soil for now.
Leaving them on the surface allows me to double check that I have one seed per module and ensure that there is a seed in every module.

Now that I am sure there is a single seed in each module and will come through with my finger and push them down, just below the soil surface.

Now it is time to pop the lid on.
Now, strictly speaking, propagator lids aren't required for tomatoes, especially when sown indoors.
I have found it helps to increase the germination time and rate, though, so I would recommend using one.
When the lid gets nice and bubbly, like the one below, then you know the humidity is high and everything is working as intended.

Providing Proper Lighting
Tomato seedlings require sufficient light in order to grow strong and healthy. For me in the UK, natural winter light levels may be too low, so I use LED grow lights to supplement the light needed for the seedlings' growth.
Place the LED lights about 6-12 inches above the seedlings and adjust them as the plants grow.

Watering
Water the seedlings gently, ensuring that the soil stays moist but not waterlogged. Avoid overwatering, as this can lead to root rot and other problems.
I like to water the tray from the bottom rather than the soil itself.
This helps minimise any disturbance and damage to the young seedlings.
To see if the soil needs more water, wait for the surface to be completely dry. Then, give the soil a prod with your finger and see if it is dry below the surface.
If it is dry about an inch below the surface, then it is time to water the seedlings.
Transplanting Seedlings
About a month after planting the seeds, when the seedlings have developed two to three sets of true leaves, it's time to transplant them into individual containers or pots.
Gently separate and remove the seedlings from the original container, taking care not to damage their delicate roots. Plant the seedlings in pots filled with a high-quality potting mix and continue to provide ample light, warmth, and water as needed.
If your seedlings are "leggy" (long and weak) then transplanting them deeply and giving them more light can help.

Hardening Off Tomato Seedlings
Before transplanting your tomato seedlings outdoors, it is important to help them adjust gradually to their new environment. This process, known as hardening off, involves slowly exposing your seedlings to outdoor conditions, particularly colder temperatures and direct sunlight.
To begin hardening off your tomato plants, start about 2-4 weeks before the last frost in your area. Initially, take your plants outside for 1-2 hours per day in a spot that is sheltered from direct sunlight and wind. After a few days, increase their "outside time" up to 3-4 hours.
As your plants become more accustomed to the outdoor environment, gradually increase the time they spend outside and expose them to sunlight and windier conditions. This process should last two weeks, after which your tomato seedlings should be ready for transplanting into their final position.
Remember to continuously monitor the health of your tomato seedlings throughout the hardening-off process. If you notice any signs of stress or damage, adjust the conditions to ensure a successful outdoor transition.
How To Stat Tomatoes With The Double Cup Method
The double cup method is a cheap way of starting
Another benefit of this method is that you can go a lot longer without having to re-pot your seedlings. Instead, you can add more compost to the cup as they grow.
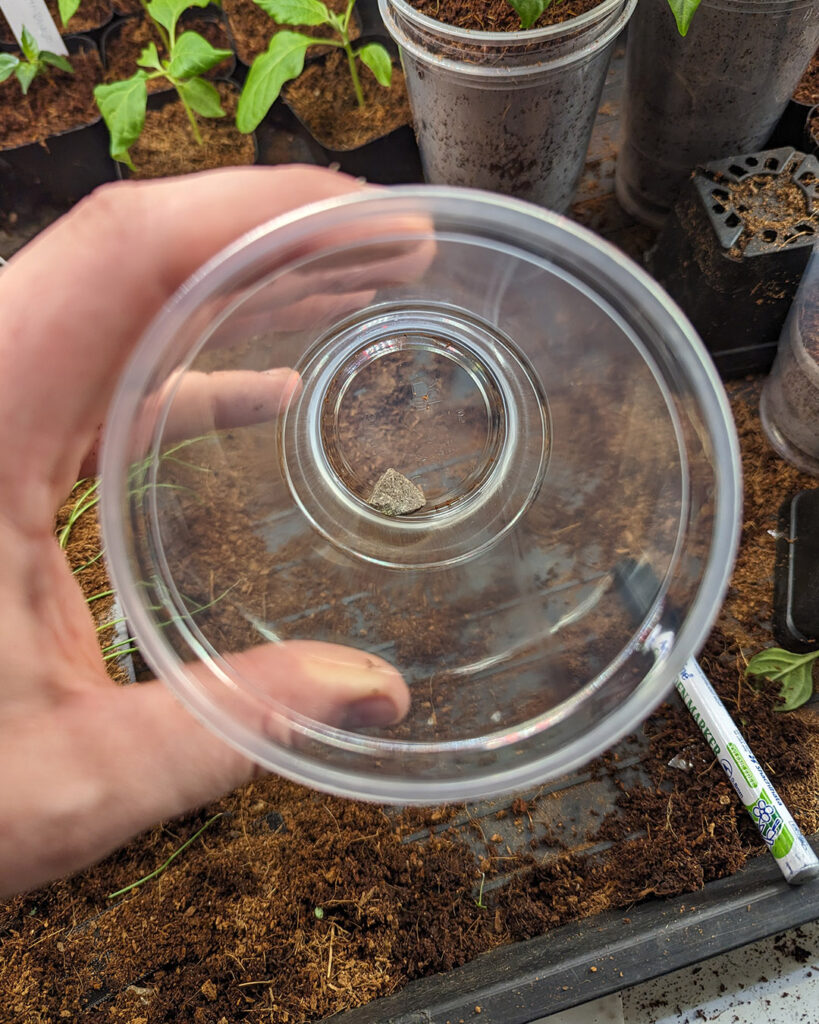
You want to start by getting a regular plastic drinking cup and adding a small stone to the bottom, I will show you why soon.
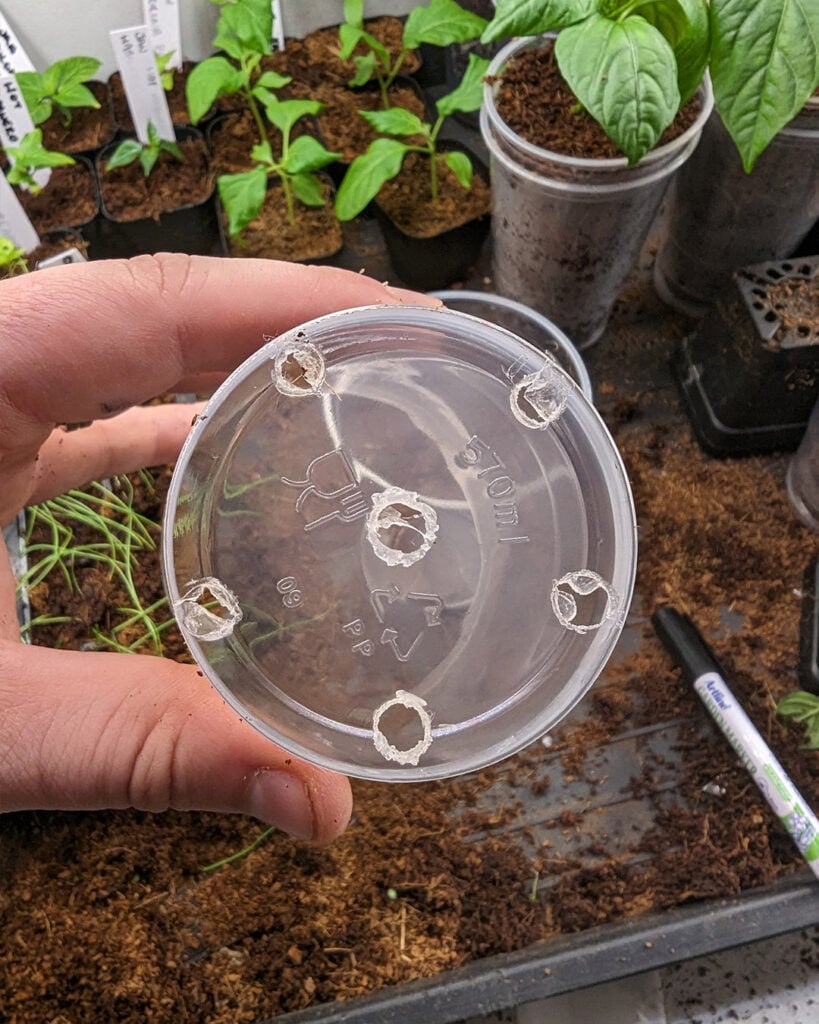
Then make some drainage holes in a secondary cup. You can do this with a drill or by melting the holes with a hot object.
I melted mine by heating a screwdriver up over my oven top and then puncturing the holes.
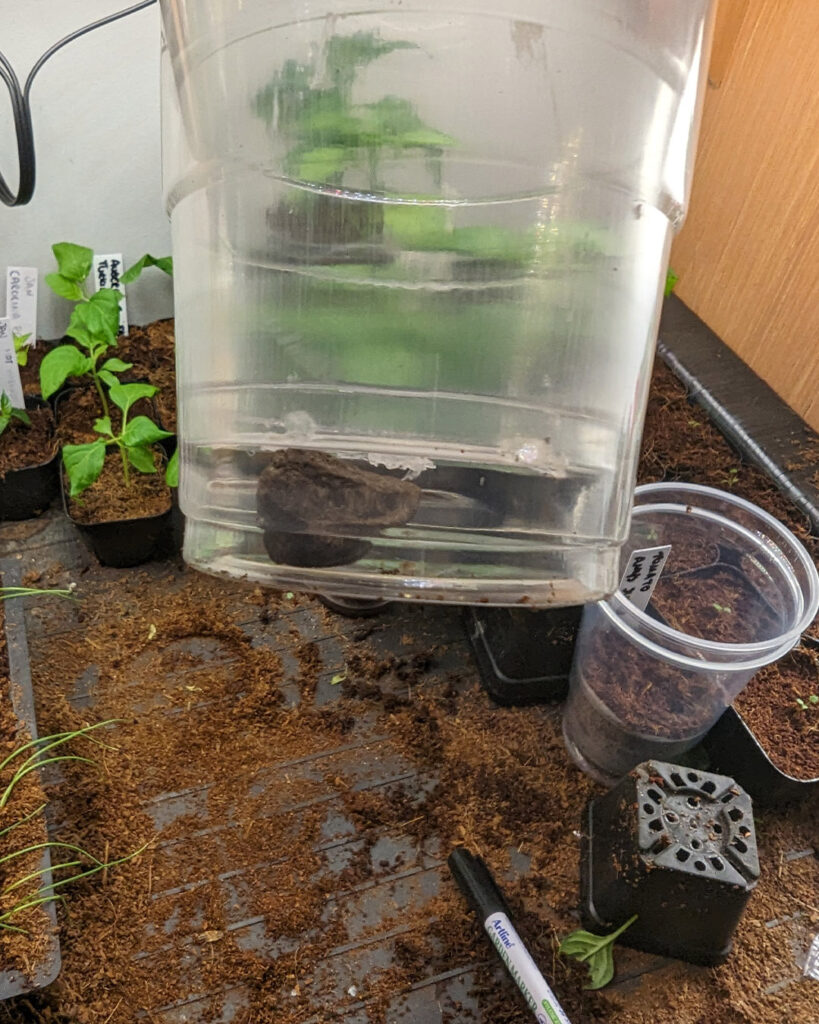
Then place the cup with drainage holes inside the cup with the stone.
The stone then creates a gap which allows water to drain away and also acts as a little reservoir.

Add a small amount of compost to the cup and press it down firmly.
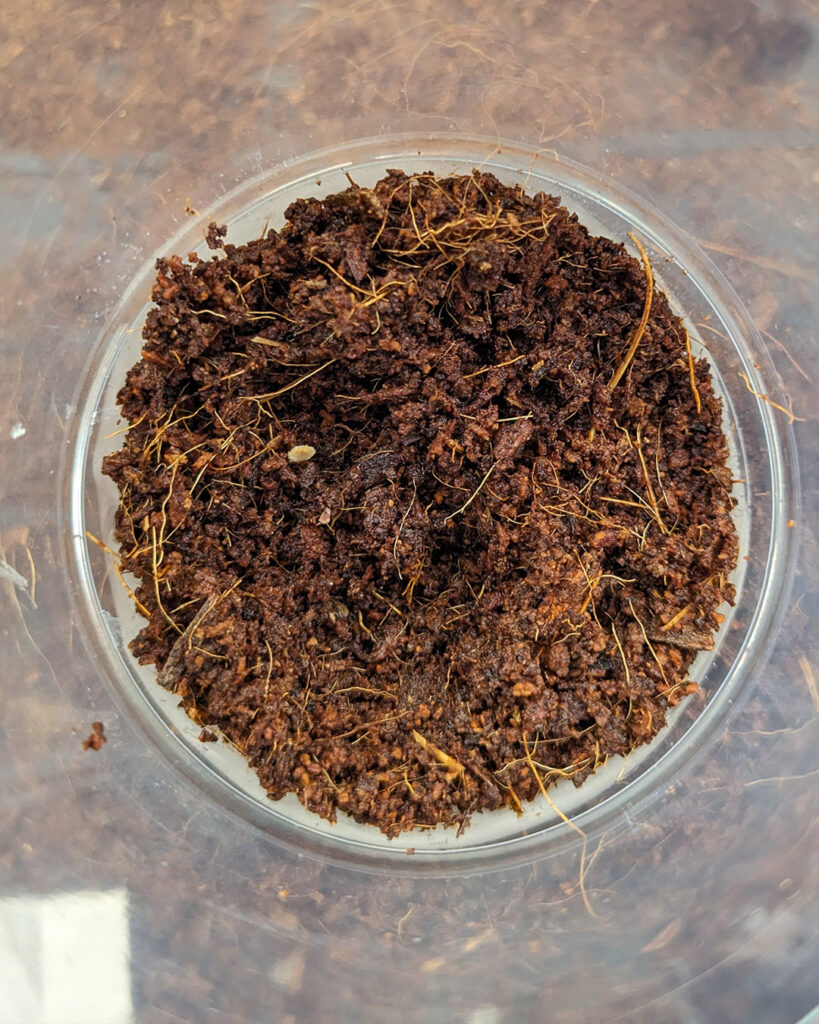
You can then sow your tomato seed into the cup.
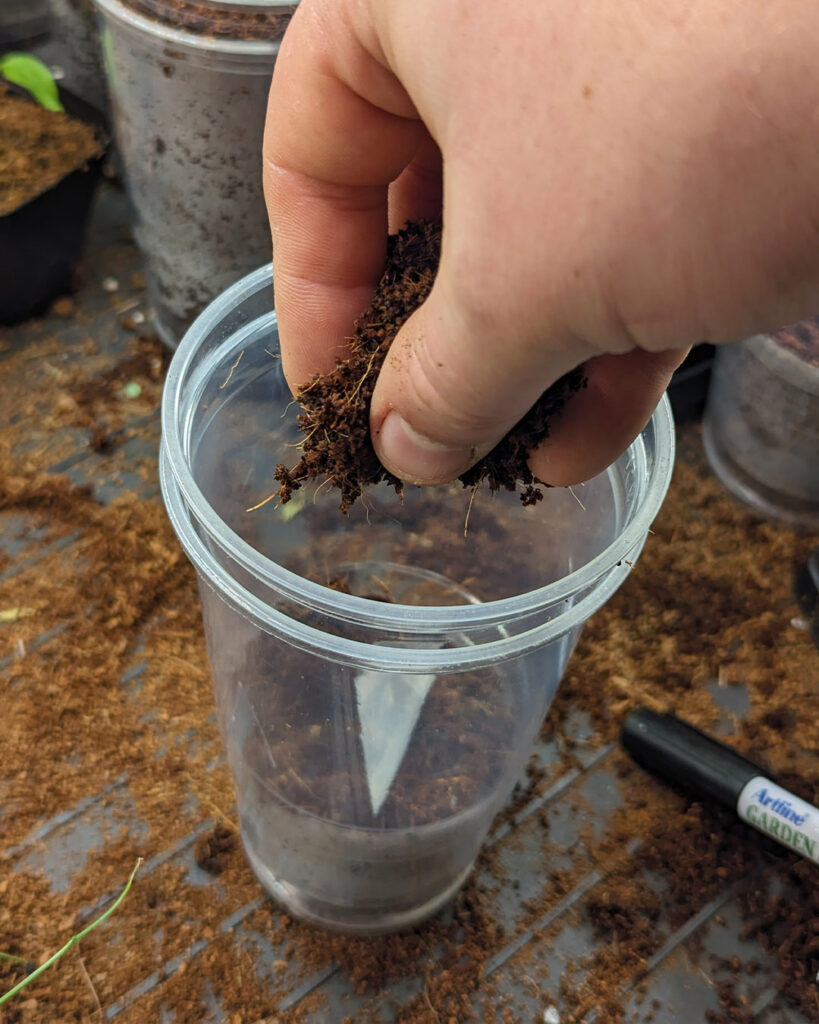
Sprinkle a little more compost to lightly cover the seed. Then wait for germination.
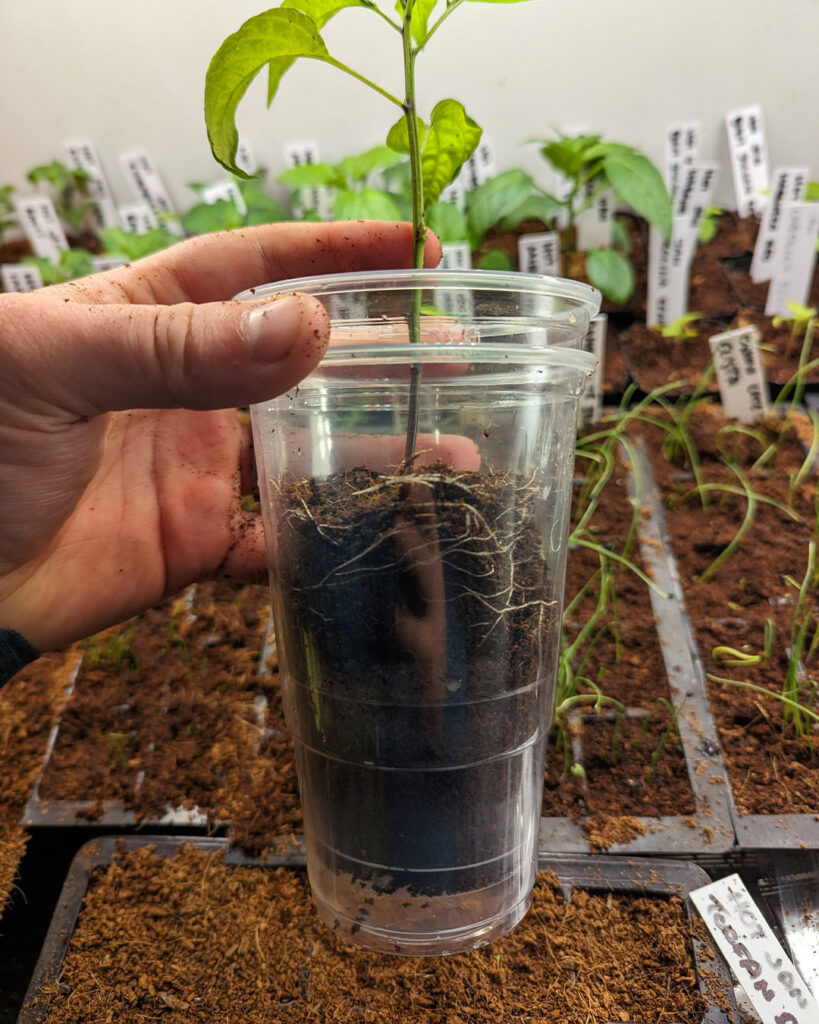
As your tomato plant grows, you can keep adding more compost to the cup until you fill it.
All of the buried stem will develop roots, leading to a very strong plant. And because the volume of soil is always increasing you don't need to re-pot your tomato seedling!
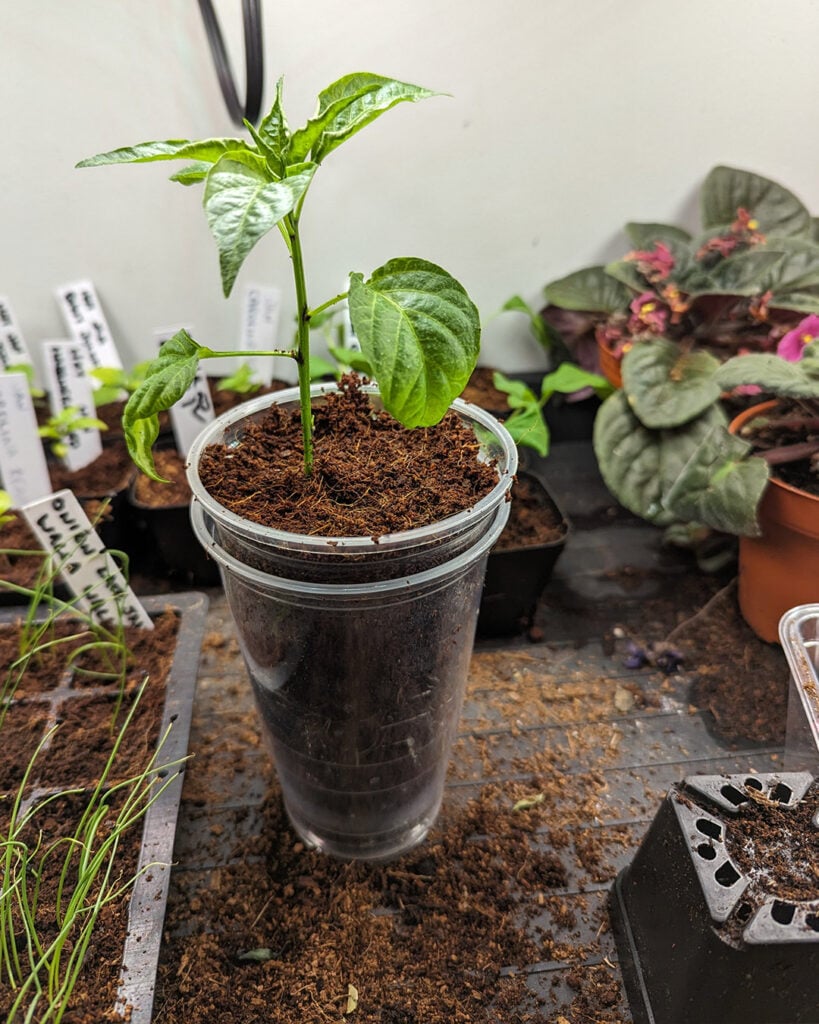
Here is a pepper plant, grown using the same method, for example.


Leave a Reply