Garlic is a versatile and easy-to-grow crop that thrives in various climates. Growing garlic can be rewarding, whether you’re a seasoned gardener or just starting. You can grow it in your allotment, garden, or even in containers in your backyard. This guide shows you how to plant garlic, from selecting the best type to harvesting it.
Choosing the Right Garlic Variety
There are two main types of garlic: hardneck and softneck. One has a hard neck the other soft -duh! Hardneck garlic thrives in colder climates. It gives fewer but larger cloves and has a hard central stem. It also develops scapes, which are edible and add flavor to dishes. Softneck garlic grows best in milder climates. It produces more cloves per bulb and has a longer shelf life. This makes it the most common type found in grocery stores.
Where you are in the world affects which garlic is best for you. But here’s a little secret: most gardeners simply grow both! If you find one type does much better than the other then swap to that exclusively. Otherwise, you can keep growing both kinds without issue.
Hardneck Garlic
Hardneck garlic produces larger bulbs with fewer, but bigger cloves. It is known for its strong, complex flavor, making it a favorite among chefs and home cooks.
However, it has a shorter storage life, typically lasting only until mid-winter. One drawback of hardneck varieties is that they tend to bolt. This means they grow a flowering stalk, which can reduce bulb size and prevent them from storing well.
Softneck Garlic
Softneck garlic produces smaller cloves that are tightly packed within the bulb. It has a milder flavor compared to hardneck varieties and is preferred for long-term storage.
Softneck garlic planted in autumn can last into winter. In contrast, spring-planted softneck varieties can store until mid-spring. Softneck garlic is less likely to bolt than hardneck garlic. This can still happen though if the plants face poor growing conditions.
When to Plant Garlic
The best time to plant garlic is in the Autumn/fall, about four to six weeks before the first hard frost. This timing helps the cloves grow strong roots before winter. As a result, they produce larger bulbs when it’s time to harvest. In most regions, garlic can also be planted in early spring, but the bulbs may be smaller due to a shorter growing season.
Chill Hours
Garlic requires a certain amount of cold or chill hours to grow properly. It needs one to two months at 0–10°C (32–50°F) for proper clove development.
Garlic needs the right number of chill hours. Otherwise, it forms one big bulb instead of separating into cloves. This big bulb is still edible and tastes the same, but it is a lot more awkward to use. Unless you need a lot of garlic all at once in a dish then you will end up with plenty of wastage.
So, what do you do if you live in a warm area that doesn't get that many chill hours? The answer is simple, cheat!
Store your bulbs in the fridge for a few months. This tricks the bulbs, helping them grow and form cloves well.
Selecting a Planting Site
Garlic grows well in many places, but it doesn't like too much water. Good drainage is a must. Garlic loves nutrient-rich soil and enjoys a lot of sun. It should get at least six to eight hours of sunlight each day. The best site has loose, loamy soil. This soil doesn't hold too much moisture, which helps prevent rot.
(If you are worried about your soil being too wet then use raised beds to get great drainage - that's what I do on my clay soil)
Garlic grows best in soil with a pH between 6.0 and 7.0. If the soil is too acidic, adding lime can help balance the pH.
Preparing Garlic Cloves for Planting
Select healthy, large bulbs from a reputable supplier or your previous harvest. Gently break apart the bulb into individual cloves while keeping the papery skin intact. Larger cloves tend to produce larger bulbs.
Planting Garlic
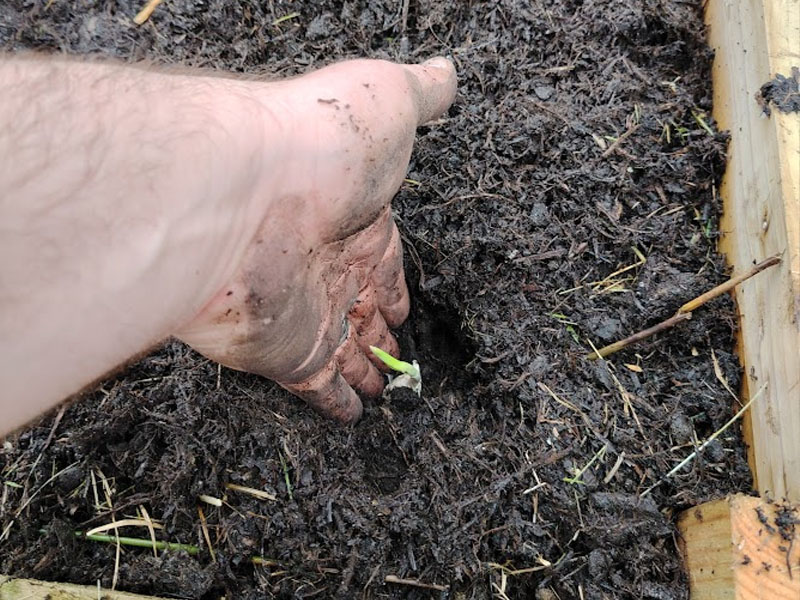
Garlic cloves should be planted two inches deep in warmer regions or four inches deep in colder areas. The pointed end of the clove should face upward, while the root side should be planted downward. Each clove should be spaced four to six inches apart in rows.
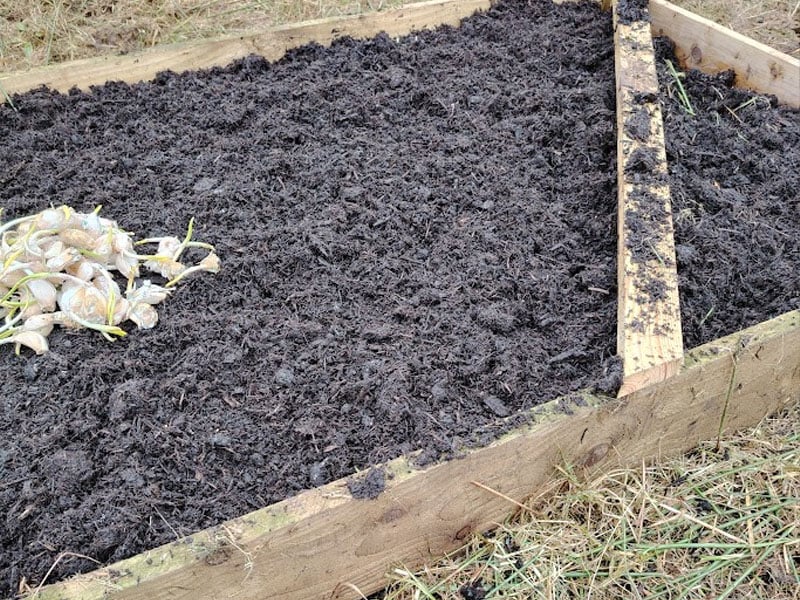
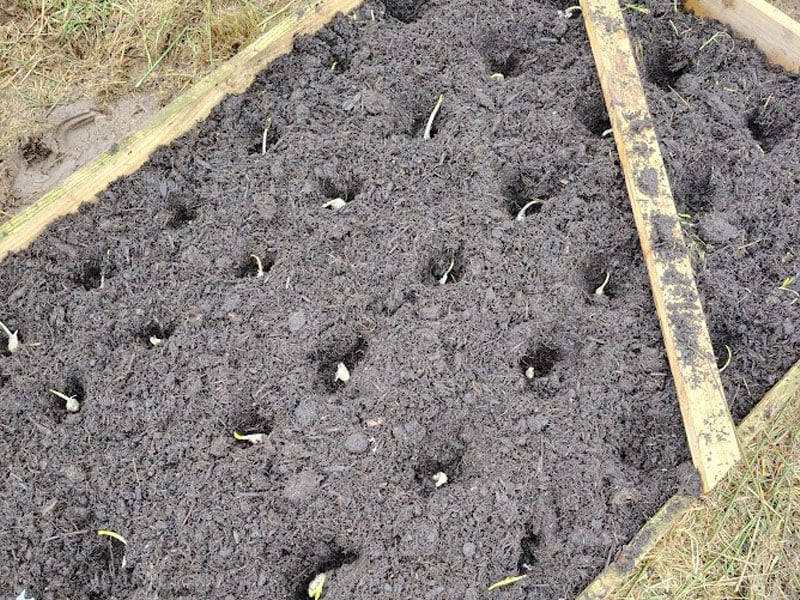
I like to lay my garlic out as you can see in the above photo. This just lets me see where I have planted, I will then come through and cover these up with compost all at the same time.
Watering after planting depends on your conditions. Here in northern England, I don't need to water them early on. The weather in winter takes care of that for me. If you live in a drier area then give them a good soak after planting.
Water during dry spells but reduce watering as the bulbs mature in late spring. This helps to avoid the bulb rotting when developed.
To protect the cloves, keep weeds away, and hold in soil moisture, spread a layer of mulch. Aim for two to four inches thick. You can use straw, leaves, or grass clippings. Mulching also helps insulate the cloves from extreme temperature fluctuations.
Caring for Your Garlic
Garlic needs about one inch of water each week during the growing season. This is especially important in spring when it grows actively. Reduce watering when the bulbs begin maturing. Since garlic does not compete well with weeds, keeping the bed weed-free is important.
For hardneck garlic varieties, curly green shoots known as scapes will appear in late spring or early summer. Removing these scapes directs energy toward bulb development, resulting in larger bulbs. The scapes are edible and can be used in stir-fries, pesto, or salads. Learn more about harvesting garlic scapes below!

Harvesting Garlic
Garlic is ready for harvest when the lower three to four leaves turn brown while the upper leaves remain green. This usually occurs in mid to late summer, around June or July. To harvest, loosen the soil around the bulbs with a garden fork and gently lift them out of the ground. Avoid pulling them by hand, as this can damage the bulbs. Shake off excess soil but do not wash them, as moisture can lead to rot.
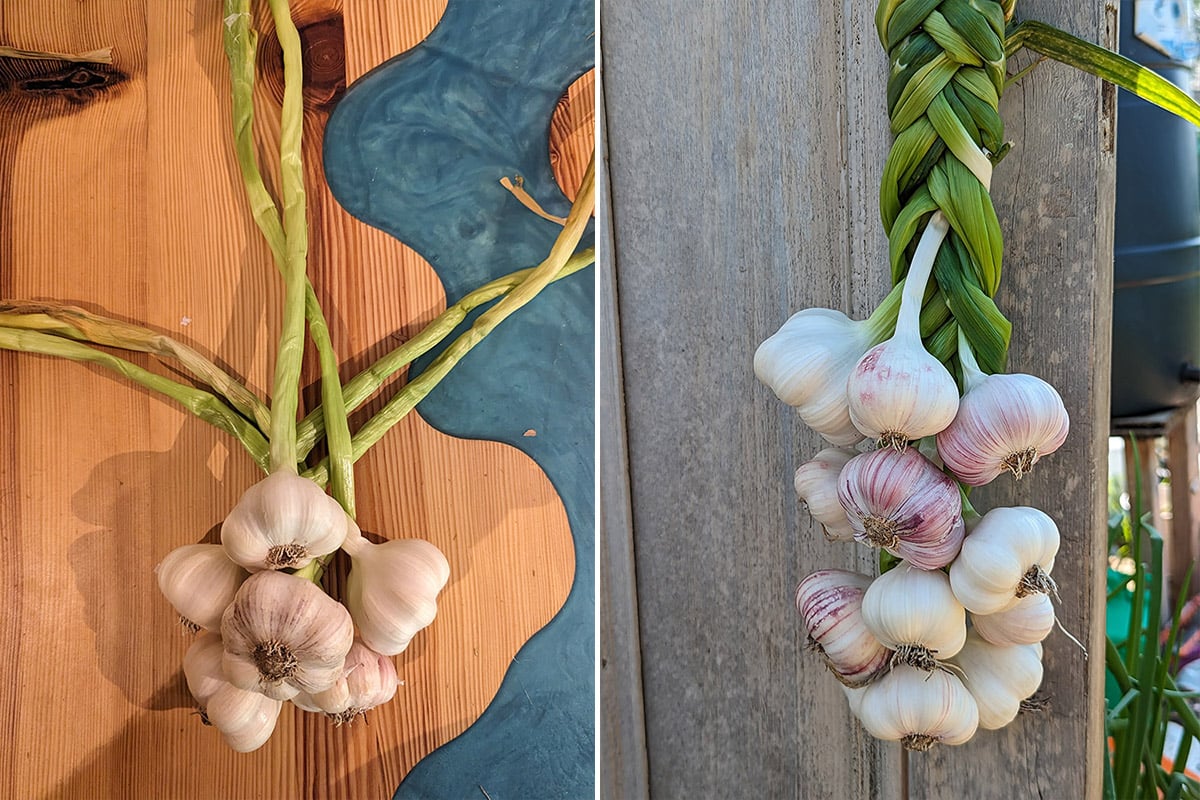
Curing and Storing Garlic
After harvesting, garlic needs to cure before storage. Spread the bulbs in a warm, dry, and well-ventilated area for two to three weeks until the outer skins become dry and papery. Once cured, trim the roots and cut the stems for hardneck varieties or braid the leaves for softneck garlic. Store the bulbs in a cool, dry place at a temperature of 60 to 65°F. Avoid using plastic bags, as they trap moisture and can cause the garlic to rot. Properly stored garlic can last several months.
How To Grow, Harvest & Cook Garlic Scapes
Garlic scapes are a real delicacy; if you have never tried them before, then I implore you to give them a go. And what's more, they are simply a free by-product of growing garlic, so let's get into it!
What Are Garlic Scapes
The scape is essentially the flowering spike of a garlic plant. They are produced by hardneck garlic and grow out of the plant's main stem in late spring/early summer.
They are long and tender, the more mature they are, the more they begin to curl.
Harvesting Garlic Scapes
Harvesting the scapes is simple, just snip them off when they are a decent length, 8" or above.
The scapes taste better when they are younger and before the curls become too tight.
Use some snips and cut them off at the base where they first appear from the main stem of your garlic plant.

You can buy the snips I'm using above at my store here!
As well as tasting delicious, harvesting the scapes is actually a job you need to do whether you plan to eat them or not.
The scape will eventually turn into a flower if left, so it must be removed.
This is to stop the plant from putting its energy into flowering. If this is allowed, your garlic bulbs will be smaller and often quite bland.
Cooking Garlic Scapes
I have a really simple recipe for garlic scapes, but just because it is simple does not mean it's any less delicious.
These scapes are amazing and, given the once-a-year harvest of scapes, a real delicacy too.

Start by chopping the scapes up into roughly 4" long pieces.

Then add some butter to a large frying pan and gently melt it.

Add in the scapes and cook on low to medium heat.

Cook them like this for around 10 minutes.
You want them to brown and roast. The look you are going for is very similar to pan-fried asparagus.
Then once they have browned, we add our secret ingredients.
Add a few splashes of soy sauce and a couple of glugs of apple cider vinegar.
Cook this on medium heat until a lot of the vinegar has evaporated.

Plate them up and enjoy.
Then eagerly await next year's scapes so

Leave a Reply