Garlic braids can be beautiful things and something I have always wanted to do. But as my lacklustre attempts at braiding my daughter's hair show, it is not something I am very good at.
But this easy method makes braiding garlic so simple even I can do it.
Why Braid Garlic
If you have never heard of a garlic braid before, then you may be wondering why you would do it.
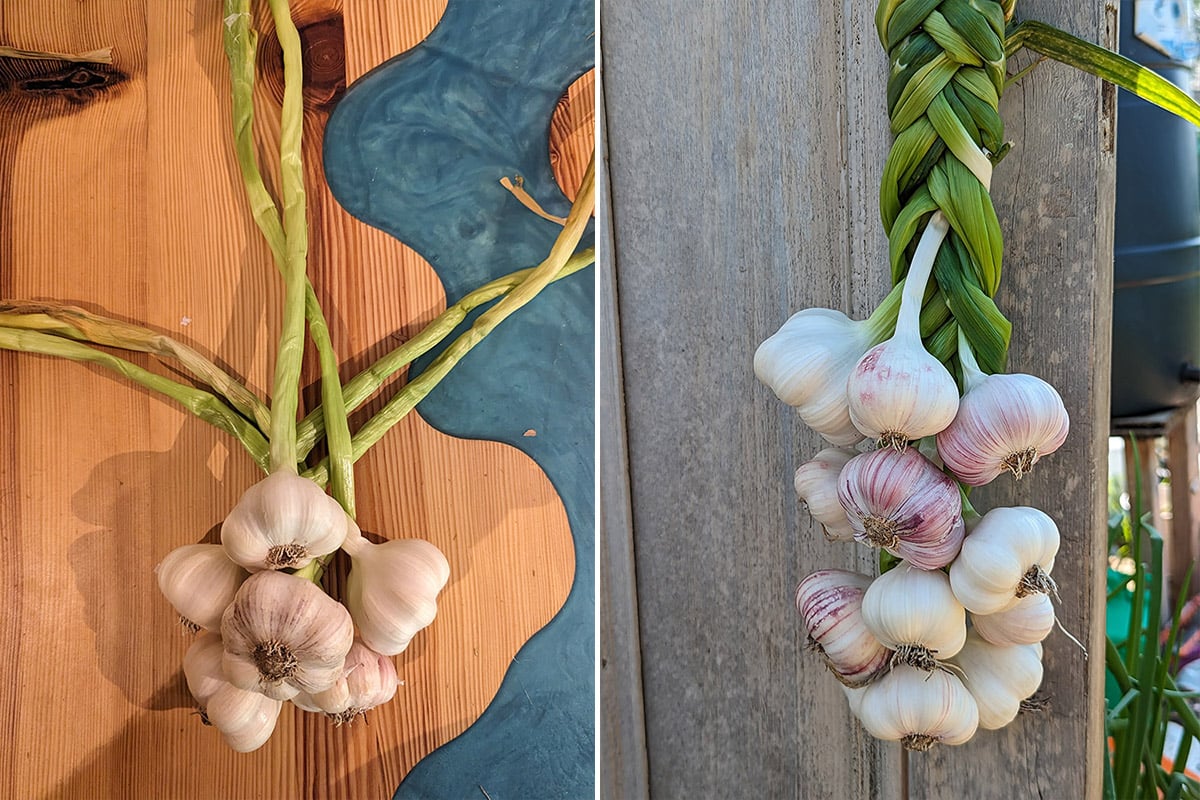
The reasoning is simple, it is a very handy way to store and cure garlic, and they look good simultaneously.
When properly cured and then stored like this, fresh homegrown garlic can last for many months while being nice to look at.
And when you need a new bulb, you snip one off from the bottom of the braid.
The Easy Way To Braid Garlic
Start by laying two garlic bulbs across each other diagonally. Lay some twine behind them for the next step.

Then add your central bulb and tie the twine tightly.

Now we will start adding all of our extra bulbs.
You want to repeat the pattern; I went right, left, and centre. You could go the other way, it doesn't matter if you stick to it.

Whenever you lay a new bulb into your braid, its stem needs to be down the centre.
Every time you add a new bulb, it becomes the central stem.

Now whichever stem is at the bottom is looped over, and that becomes your new central stem.

Add your next bulb, and again the stem goes down the middle of your braid.

Once again, you bring the lowest stem over and into the middle.
Now you can add your central garlic bulb and bring the bottom stems over and into the middle.

So in my photo above, these will be the two stems on the left as these are at the bottom.
Pull these over, and they are now my middle stems.
You then repeat this over and over, following the same pattern until you use up all of your bulbs.
The tighter you can keep your braiding, the better your end product will look.

This one got a little messy and out of shape at the top, but it still looks good.


Looking from the back, you can see the braid but can't see it from the front.
This is because I didn't keep my braids tight.
I had another go at this later with some more garlic and did much better - practice makes perfect and all that.

You can keep braiding the stems after you have added all your bulbs as I did with the one above.

Tie some more twine around the top of the braid when you get there.
You can also loop it over on itself and then tie it, this gives you a little built-in hook to hang the garlic from.


Leave a Reply