Growing squash vertically is a great way to save space and grow lots of squash.
As squash are vining plants, they love to climb and can easily be trained up a range of structures.
here are some ideas for you.
Squash Support Ideas
Rectangular Frame

This simple support can be built for free using any old logs.
Just create a square support and then run some smaller sticks or even string along the sides and top.
The supports are what the squash will grow up with the four corner posts just there for support.
Triangular Frame
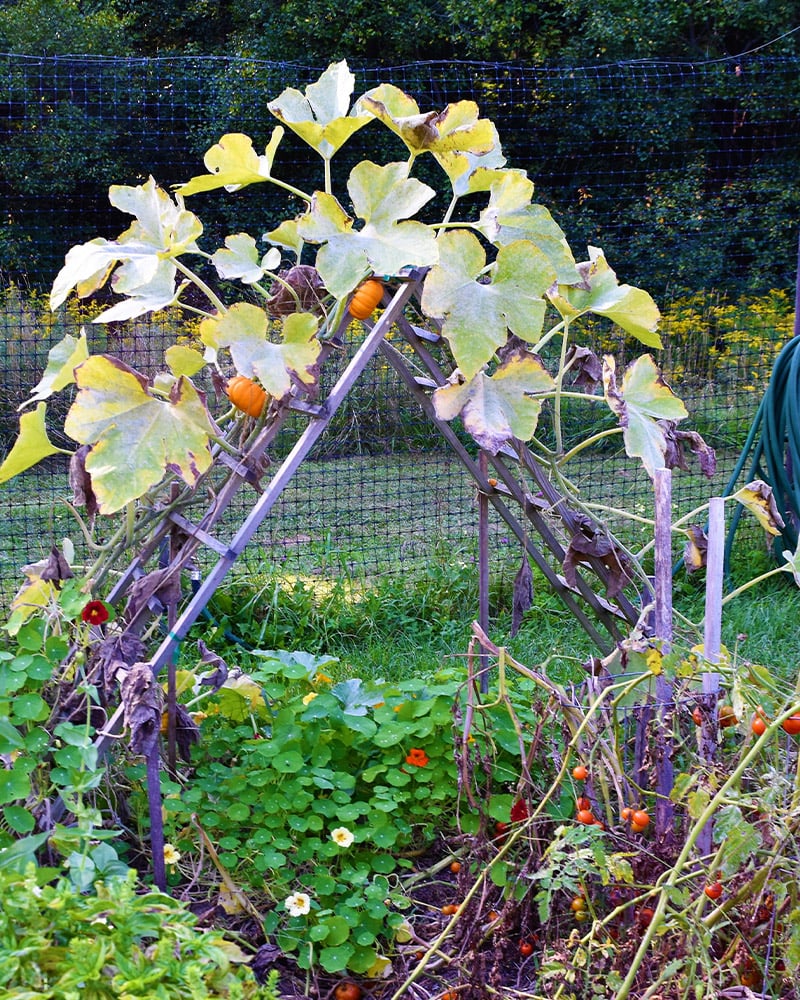
This is a great way to grow squash in a garden bed as you can use the space below to grow other crops.
You can lean two rectangular supports against each other.
Tie them together at the top to create an easy, triangular, support.
String

Like cucumbers and tomatoes, squash can also be grown up a string.
You need some sort of support to dangle the strings from.
The squash will then grow up the string, twisting around it as they grow.
Overhead Arch

An overhead arch is a great way to grow squash.
You can use an old polytunnel (hoop house) frame and run some string between the metal bars to create a support system for the squash.
This is a great way to create an area of shade in your garden.
You can use this to grow shade-loving crops in sunny areas during the height of summer, or even just a nice spot to get out of the sun!

Obelisk
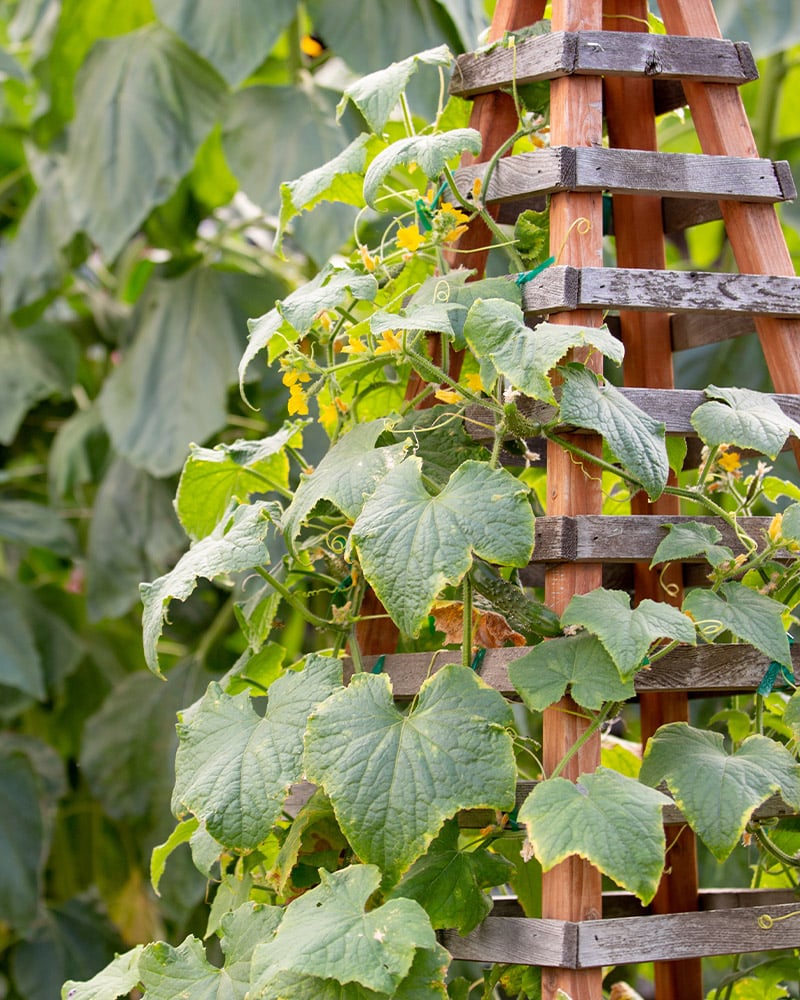
An obelisk is a great, decorative way to grow squash vertically.
They are commonly made from wood or metal and are perfect for providing support for a growing squash plant.
Supporting Large Fruit

Depending on what squash you decide to grow vertically, you may need to support the squash fruit.
This is only required on squash that creates large fruit.
Use a net to help support them, so they don't fall off the vine. These nets are easily available and are commonly used for growing melons vertically.
Varieties To Try

If you are just starting to grow squash vertically I recommend you try something like Uchiki Kuri (Red Kuri in the USA).
This is a great squash to grow vertically as it produces a lot of smaller fruit that doesn't require support.
Above you can see me next to my vertically grown Uchiki Kuri!
Pruning Vertically Grown Squash
It is a good idea to prune most squshes if you are growing them vertically.
By removing the lower older leaves, we let more light in, which will help the squash at the bottom of the plant to ripen. It will also improve airflow, reducing the risk of problems like powdery mildew.
It also helps to reduce the amount of water your plant needs which is very important in dry summers.
The older leaves don’t do much photosynthesizing but use up a lot of water. So by removing them, you reduce the plant’s water uptake but don’t really damage its ability to grow.
I don’t, however, prune the actual stems to prevent further growth, I let these plants grow as big and as much as they want.

Here you can see my plants growing up support and, to be honest, growing out of control, they need some taming.
Step 1 – Locate Yellow Or Damaged Leaves
These are the leaves we want to remove first and they will most likely be the oldest leaves on your plant and you will find them right at the bottom.
These are the best candidates for removal as they won’t be providing much energy to the plant at this stage so can be removed without worry.
Step 2 – Use Secateurs To Snip The Stems
Once you have located the leaves you want to remove just go in with a pair of secateurs and snip the leaves off on the stem. This will be really easy as the stems are hollow and cut easily.

Step 3 – Remove Leaves Around Hidden Fruit
It can also be a really good idea to remove the leaves around fruits that are hidden away in the middle of your plant. This will allow more light into them which will, in turn, speed up the ripening process.

Step 4 – Admire Your Handywork
So now we are all done pruning and the time has come to take a step back and look and what we have done. Feel free to bask in the glory of a job well done.
You can see that the overall leafiness of the vines has been reduced and that suddenly a lot more fruit are visible and will be hanging in the sun.
This will allow them to ripen well and sweeten up really nicely.

As long as you don’t grow crazy and start taking too much off the plant then you won’t do any damage.


Leave a Reply