Cosmos is one of those flowers that makes the garden feel effortlessly elegant. With their delicate, feathery foliage and daisy-like blooms, they bring a real sense of lightness and movement to borders, beds, and even containers. Best of all, they’re incredibly easy to grow from seed — and I do it every year without fail.
In this post, I’ll walk you through exactly how I grow cosmos from seed here in the UK, step by step.
When To Sow
Cosmos are tender annuals, which means they won’t survive a frost. I usually sow mine in the greenhouse around early April. That way, they’re ready to go outside once the risk of frost has passed, but are not too large and gangly before that time arrives!
You can sow in a greenhouse anytime from April to June.
If you prefer to direct sow, wait until late May when the soil has warmed up. (I always prefer starting seedlings in the greenhouse, however!)
What You Need
- Cosmos Seeds
- A module tray or small pots
- Seed or Multi-purpose compost
- A greenhouse or a sunny windowsill
- Seed labels & pen!
Sowing Cosmos Step by Step
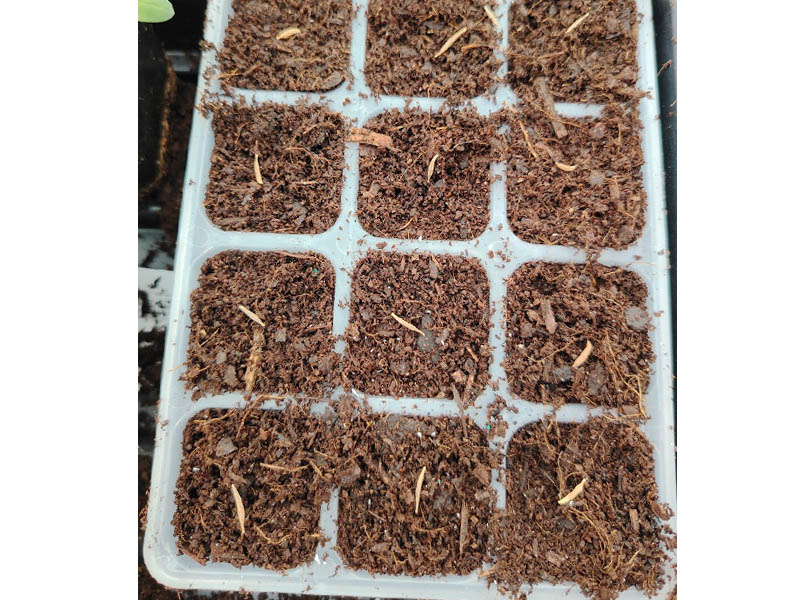
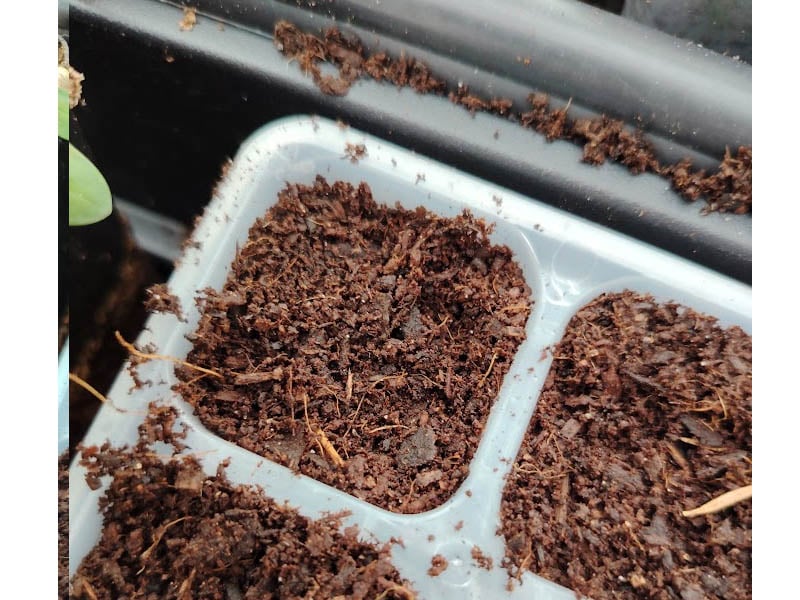
- Step 1: Fill your module tray with compost. I like to use these silicon bottom ones as they are super easy to push out. Available at a bargain price for Patient Gardener+ members!
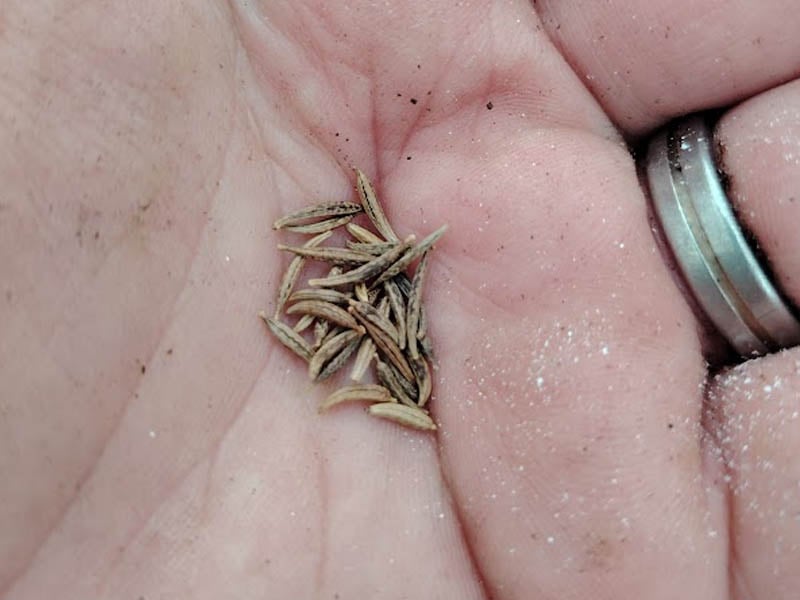
- Step 2: Get Your Seeds Ready. Cosmos seeds are pretty large, making them easy to work with.
- Step 3: Place one seed in each module.

- Step 4: Gently push them below the surface. They don't need to go too deep - just below the surface is fine.
- Step 5: Cover the seed with more compost.
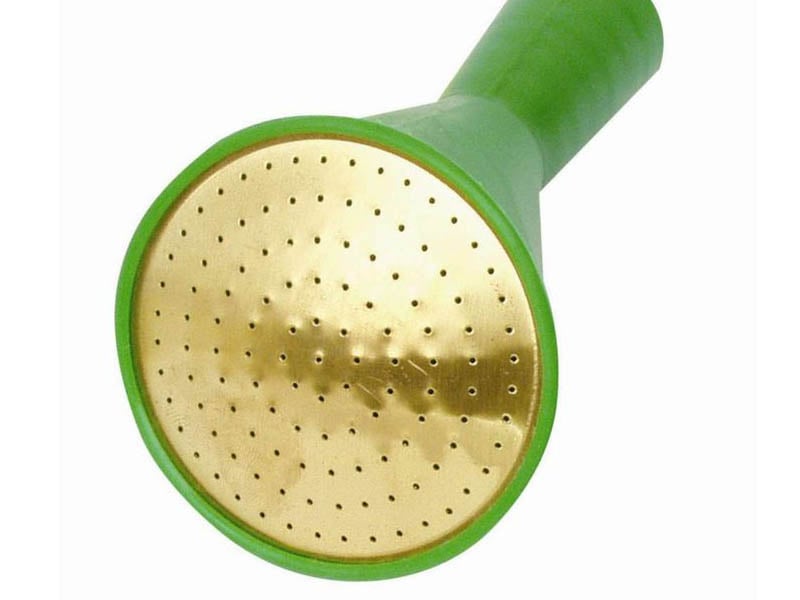
- Step 6: Water them in. This can be done from the bottom up if using trays or with a very fine rose attachment on a watering can.
When Will My Seedlings Appear?
Cosmos is quite a speedy germinator; you should start seeing something happening after roughly a week. If it has been three weeks or more and nothing has appeared, then something has likely gone wrong. Try sowing again and using a different compost - also make sure you aren't overwatering and rotting the seeds. Only water when the surface has dried out.
When Is It Time To Pot Them On?
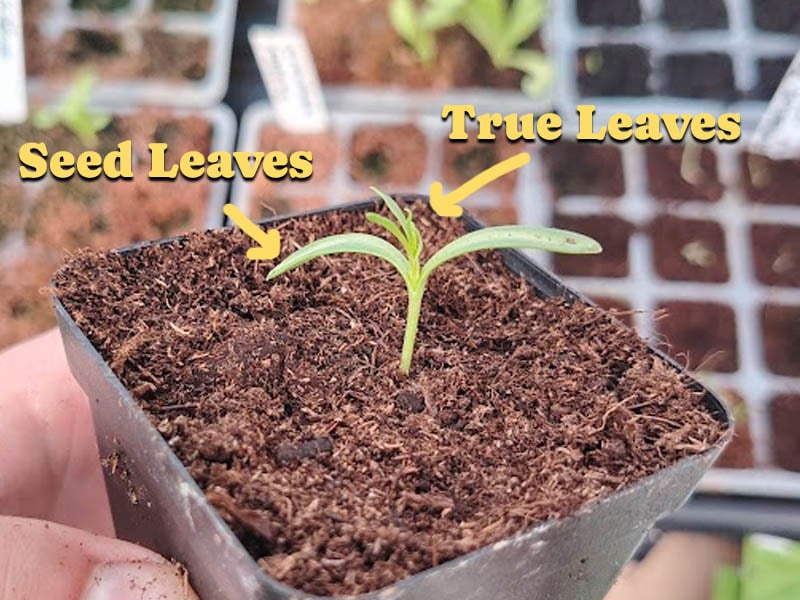
You need to look for two crucial markers to know your seedlings are ready to transplant. The development of true leaves and roots going out of the bottom of the existing module or pot.
True Leaves
So, what does true leaves actually mean? When seedlings first emerge, they have seed leaves or cotyledons to give them their correct name. These leaves are formed within the seed before sprouting. They are often very similar looking across different plants. Some can have one seed leaf or sometimes even none, but the vast majority have two long, thin seed leaves. Below is an example of seed leaves and true leaves on a cosmos plant.
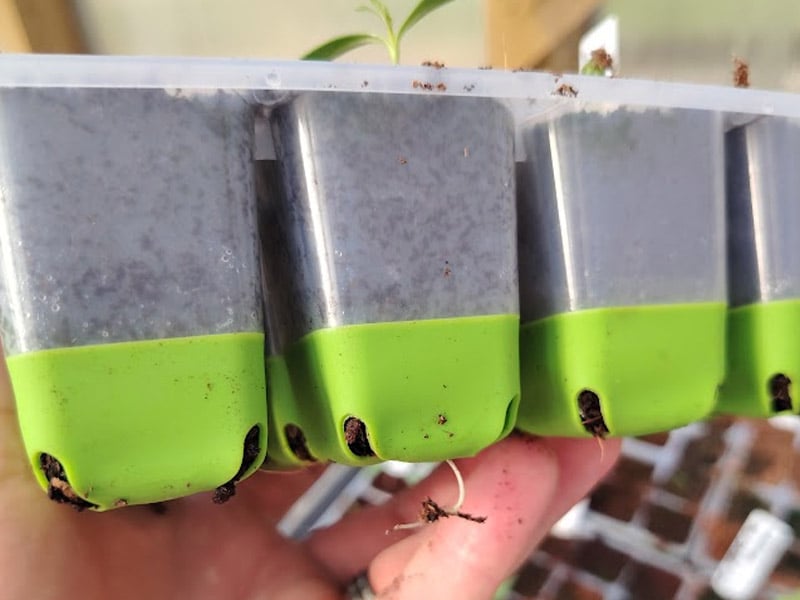
Roots appearing from the bottom
The next clear sign that your seedlings are ready to move on to bigger and better things is the appearance of roots from the bottom of their existing container.
Get Patient Gardener+
All this for just 99p a month!
- Supporting me to create more UK focused gardening content
- All my content 100% Ad free
- Monthly Step-By-Step guides
- A private friendly community for UK gardeners
- Access to my exclusive members only gardening store with huge discounts!
- In depth growing lessons (being filmed this year)
- Free garden building plans (greenhouses, raised beds, compost bins etc)
- Competitions and prizes
- Buying guides & equipment reviews
- Behind the scenes content
How to transplant seedlings
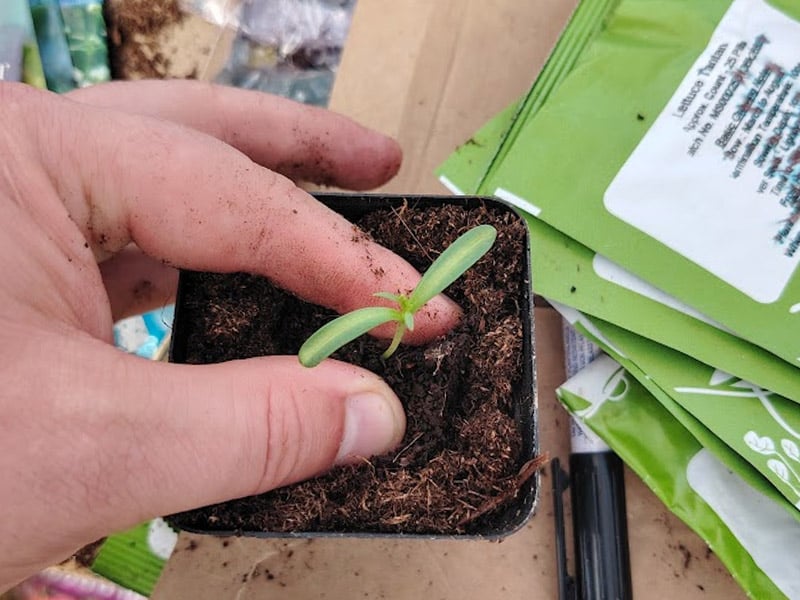
When moving seedlings, remember to be gentle; they are very delicate and easily damaged.
If possible, don't handle the seedling itself at all. Tray and hold onto the soil rather than the plant so you don't cause any damage.

- Step 1: Gently remove the seedling from its old module. These flexible modules make it very easy.

- Step 2: Handle the seedling very carefully, hold the soil and not the plant if possible.

- Step 3: Fill the new pot with multi-purpose compost and make a large hole in the middle.
- Step 4: Pop the seedling into the soil

- Step 5: Firm around the base of the seedling, pushing the compost down gently.
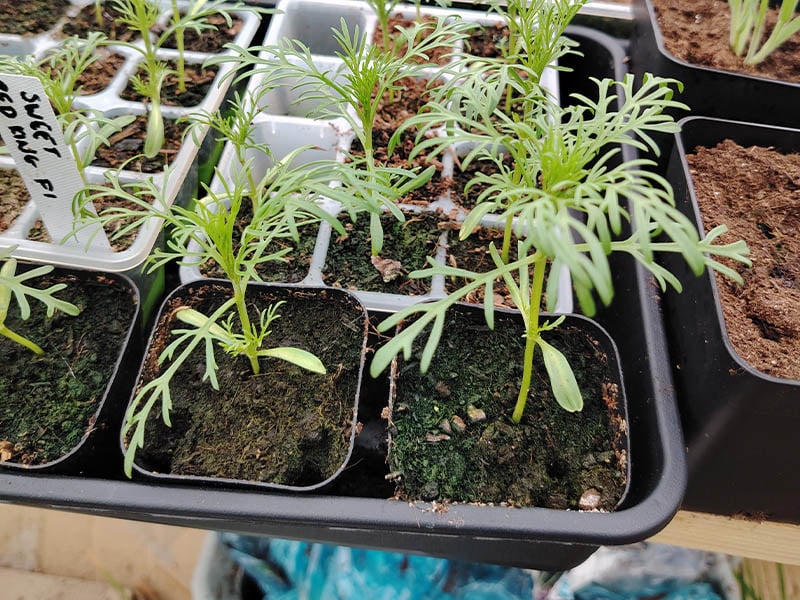
- Step 6: Add more compost if needed and then water well. After a few weeks, they will have shot up!
When To Move Them Outside
Cosmos is not frost-hardy, so if they freeze, they will die. So you need to wait until after your last frost date before moving them outside.
I like to leave plants in my greenhouse until they are quite large and well established. This gives them the best possible chance of survival.
If a slug has a nibble at a tiny seedling, then that could be game over for that plant. But if it has a nibble on a much larger plant then it stands a good chance of brushing it off and surviving.
You also need to harden your seedlings off before moving them outside. This is done by gradually acclimatizing them to outdoor conditions by moving them out bit by bit. Making the amount of time they are outdoors longer and longer over a period of a week or two.
This is only really needed when going from indoors to outdoors, I don't tend to harden my crops of that have been growing in the greenhouse.
Olwen says
Do you pinch the tips off?
Daniel says
You can do once they are a little more established, three or four true leaves
Annette Wass says
how deep can you transplant seedlings once they have true leaves -mine are pretty leggy so wondering if the stem will rot if I prick them out and repot deeply ?