Before you start planting, knowing the basics of swede cultivation is crucial. Swedes are best sown directly in the ground, where they will grow, rather than being transplanted. They prefer cool weather and do well in full sun or partial shade. With the right soil preparation, planting technique, and care, you can enjoy a bountiful harvest of swedes in no time.
Choosing the Right Site
Before planting your swedes, it is important to choose the right site. Swedes are a long-season crop, meaning they take a long time to develop fully, up to six months for some varieties. So make sure you are aware of this when planting them.
Preparing the Soil
Before planting anything, it is important to prepare the soil properly.
- Remove any weeds or debris from the planting area.
- Add organic matter such as compost, well-rotted manure, or leaf mould to the soil to improve its structure and nutrient content.
Once you have prepared the soil, you can start sowing your swede seeds. Swedes prefer a soil temperature of around 10-15°C (50-59°F) for germination, so it is best to sow them in late spring to early summer when the soil has warmed up sufficiently.

Planting Swedes
Planting swedes isn't too tough, most people will direct sow them into shallow drills, I talk through this below.
Sowing Seeds
Sowing the seeds directly into the soil where they are to grow is recommended, rather than starting them off indoors and transplanting them later. This is because swedes have a long taproot that can be easily damaged during transplanting, leading to stunted growth and poor yields.
When sowing your swede seeds, make a shallow drill about 2cm (¾in) deep and sow the seeds thinly. Space rows 38cm (15in) apart to allow enough room for the plants to grow.
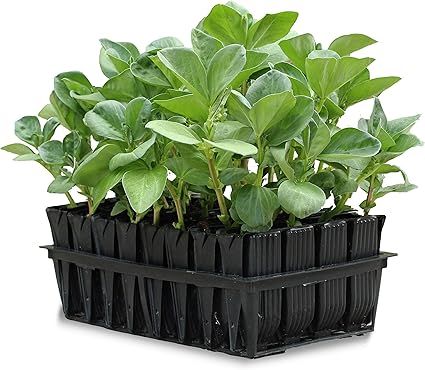
Transplanting Seedlings
If you prefer to start your swedes indoors, you can transplant the seedlings into the ground once they are big enough. You need to use something like a root trainer so you can transplant them without damaging the long tap root.
Caring for Swedes
Proper care is essential for growing healthy and tasty swedes. Here are some key things to keep in mind:
Watering
Swedes require consistent moisture throughout their growth cycle. Water them regularly, especially during dry spells, to stop the plants from drying out. However, avoid overwatering, as this can lead to root rot and other problems.
Mulching
Mulching can help retain moisture in the soil, suppress weeds, and regulate soil temperature. Apply a layer of organic mulch, such as straw, leaves, or grass clippings, around the base of your swede plants. Keep the mulch a few inches away from the stems to prevent rotting.
Weeding
Weeds can compete with swede plants for nutrients, water, and sunlight. Regular weeding is essential to keep your swedes healthy and thriving. Use a hoe or hand tools to remove weeds when they are small, before they have a chance to take hold. If using a hoe or spade then be very careful that you do not damage the roots.
Pest and Disease Control
Swedes are relatively pest and disease resistant but can still be affected by a few common problems that all brassicas suffer from. Watch for cabbage root fly, aphids, and clubroot, and take action if you notice any signs of infestation or disease.

Harvesting and Storage
When it comes to harvesting swedes, timing is key. You want to harvest them when they are young and tender but also when they have reached their full size. This usually takes around 150-180 days after sowing the seeds. (You can harvest young for small, sweet roots, but most people grow them for full-size crops).
To harvest the swedes, use a garden fork or spade to lift them out of the soil gently. Be careful not to damage the roots or the skin of the swedes. Once you have harvested them, remove any excess soil and leaves.
Storing swedes is relatively easy. If you plan on using them within a week or two, you can store them in a cool, dry place such as a basement or garage. However, if you want to store them for longer periods of time, you will need to take some extra precautions.
You can store swedes in a box full of sand or vermiculite and they will last for months and months.
Tony Ansell says
Help. I have an allotment and have tried over the years to grow swedes. I place the seeds down in the normal manor mid May. Seeds germinate and the plants slowly get thinned out. The swedes carry on growing, plenty foliage but no swede. You can leave till the end of the year and nothing. Ph of soil is around6 plants are watered, don't know what else to do. I'm not the only person that has this problem several other plot holders do, is there something missing from the soil. Cannot find a solution anywhere
Daniel says
Do other brassicas grow well?