The cheapest way to expand your blueberry collection is by taking cuttings off your existing plants.
Many people think taking cuttings is more of a winter job, but did you know that summer is one of the best times to take blueberry cuttings?
Follow this guide, and with some luck, your blueberry patch will expand before you know it!
Softwood Vs Hardwood Cuttings
We will be taking softwood cuttings; cuttings are usually broken down into two camps - softwood and hardwood.
A softwood cutting is taken from young, vigorous growth while the plant is still actively growing.
These will be soft and flexible, hence the name.
Hardwood cuttings are normally taken while the plant is dormant over winter, and the stem will be hard.
Softwood cuttings are brilliant because the plant is already actively growing.
You are taking the youngest, most vigorous growth and planting it. This is packed full of energy; all it wants to do is grow.
Because of this, you find much higher success rates with softwood cuttings than hardwood.
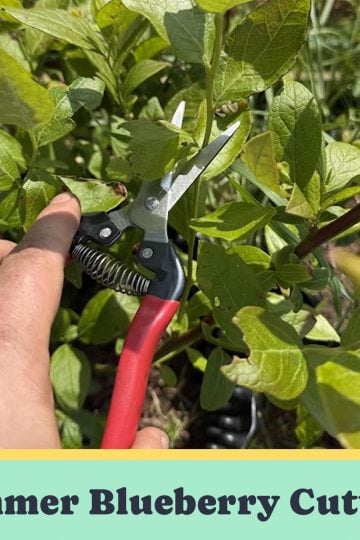
Taking Softwood Blueberry Cuttings
Have a quick look at your blueberry bush and find the new, vigorous growth.
This is usually very easy to spot as it will be bright green, and the stem will be very soft and flexible.

Bonus points if the candidate is growing in an awkward spot and would need to be pruned anyway; those are real win-win!

You want to cut just under a leaf node. This is where a lot of growth hormone in the plant is concentrated.
In theory, this should make your cutting more likely to take root.

Ideally, you want a cutting somewhere between 6-8", although this isn't crucial.
If you have a really long cutting, you can cut it down into individual smaller pieces and each one will have a chance of rooting and growing into a new plant.
The usual advice is to try and find a pencil-thickness stem and take your cutting from there.
I have found that thinner cuttings actually do better than pencil-thick ones, so I try and go for the youngest new growth - no matter how thick it is.
Removing Leaves
The next job is to remove the vast majority of the leaves on the cutting.
Because this cutting has no roots, it can suck up much water.
This means it won't be able to support much foliage, but we want to try and leave some so the cutting can photosynthesis and use that energy to grow and root.

I like to remove all of the leaves, bar the top two.

Potting Them Up
I use a regular seed compost mixed 50:50 with sand for my blueberry cuttings.
This gives a good draining mix that reduces the chances of your cuttings rotting.

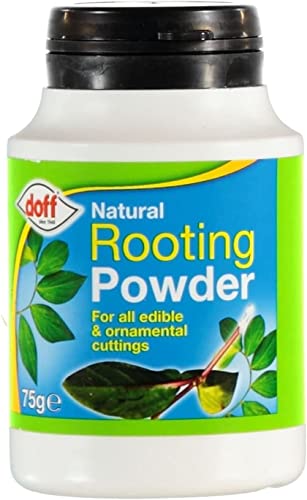
Dip the cutting end in some rooting hormone and then place it in the pot.
I usually put them halfway in.
You can use a dibber if you want, but I pop them straight in.
Easy to use, simply dip the cutting into the powder to begin generating the growth of new roots. A great way to create new plants, this is an excellent tool for any keen gardener. For use on soft, semi-hard and hardwood plants.

Your cuttings don't need much room, so you can pack them in quite tightly.
Once they have taken root, we will move them onto richer soil anyway.

Now you want to take an old pop or any plastic bottle and cut the bottom off.
You then place this over the cuttings as a sort of hood.
We do this to help keep the moisture in the plants.
All plants lose moisture through their leaves, so if we can reduce that by creating a sealed environment, then we will reduce the stress on the plants.
This gives them a much better chance of surviving.

Now we want to water well and put the pot in a good spot to develop some roots.
We don't want to put it in direct sunlight. I place my cuttings on the north side of this shed on my plot.
They are still outside and get plenty of light, but importantly no direct sunlight.

Ensure the pot stays nice and moist, and then leave it for a month or two.
If you are getting impatient, one test you can do to see if the cuttings are rooted is gently pulling them straight up and out of the compost.
If you feel resistance, then this is because the cutting has started to root.
Once your cuttings have rooted, you can grow them on. I tend to pot them on into larger pots and give them a little extra care over winter - maybe in a cold frame or such - before planting them outdoors the following spring.

Leave a Reply