If your tomatoes have grown so much that they are reaching the ceiling of your greenhouse, then you have two options, top them or create more room - let's have a look and discuss these options.
Topping Tomatoes
Topping the plant is when you remove the growing tip late in the season. You simply snip the whole top section of the plant out so it will no longer grow upwards.
Why Do We Do This?
Well, as it actually happens, I don't do this, but many other growers do. So let's talk about the pros and cons.
Your tomato plant will keep on growing until colder weather comes in and kills it off. Any unripe tomatoes that are still on the plant at this point will need to be harvested while they are still green.
Topping the plant stops it from putting its energy into growing upwards and instead into developing all of the fruit already on the plant.
The tradeoff is that you won't get any more tomatoes by topping the plant. But the ones on the plant already will be bigger and more likely to ripen fully.
By letting the plant continue to grow, you will get more tomatoes but are much more likely to end up with a bunch of unripe green tomatoes.
How many more tomatoes you get depends on the weather at the back end of the season, and is a guessing game.
Green tomatoes can still be used and make great chutneys, among other things, which is why I just let my plants grow and then harvest all the green tomatoes once the plant has died.
What I Do
So if I don't top my tomatoes, then what do I do?
Well, I lower the whole plant to give it much more room to go into. This is only easily done as I grow my tomatoes up string.
Here's how it's done.

I start by loosening the string from the bottom of the plant. If you have buried the string under your plant's rootball, then you can achieve the same effect by loosening the string at the top.
In fact there are even special tomato growing hooks that allow you to do this easily - this is what many commercial growers use.
It is important to be gentle with every step here, as we don't want to snap the stem accidentally. This is easily done, as I know from experience!

Now you can lay the stem down along the surface of the soil, before going upright again.
As you can see, the stem has been pruned so it is free from any leaves.
This, in effect, lowers the entire plant and gives it much more room to grow into. As we are still early in the season when I am doing this, I will have a bigger harvest by increasing my growing height.
I then re attach the string higher up the plant to support it in its new position.

As you can see, I have created much more space for this plant to grow into.
This means I don't have to top it and stop it from growing.
Instead, I can keep it going for three or four more months and reap the rewards that come with that.
If you are interested in doing this, you will want to grow your tomatoes up string - more on that below!
How to grow tomatoes up a string
Growing tomatoes up a string is not a new idea but it is one that is seemingly growing in popularity. If you want to find out how exactly to do it then you have come to the right place. I have just set up some new raised beds in my greenhouse and included some strings for my tomatoes to grow up, let me show you how I did it.
Step 1 - Into the soil or not?
The first decision you will need to make is are you running your string into the soil and below the surface or not? If you are creating a new bed like me then this is easily done and I would highly advise you do it as this adds a lot of tension and strength to the string.
If you don't want to have to dig your bed up in order to do this then you can just leave the string loose and dangling from the ceiling.
If you just dangle the string then simply tie it to the base of your tomato plant once it has got large and started needed support.

Another method is to simply bury the string that is dangling under the root ball of your tomatoes when you plant them up. The root ball then holds the string in your soil.

*If you are going to do this then don't use twine like I did! Use a plastic string as the twine rotted after a couple of months!
Step 2 - Under the soil support
How do you get your string to stay under the soil and stay taut? Well, this is what I did.
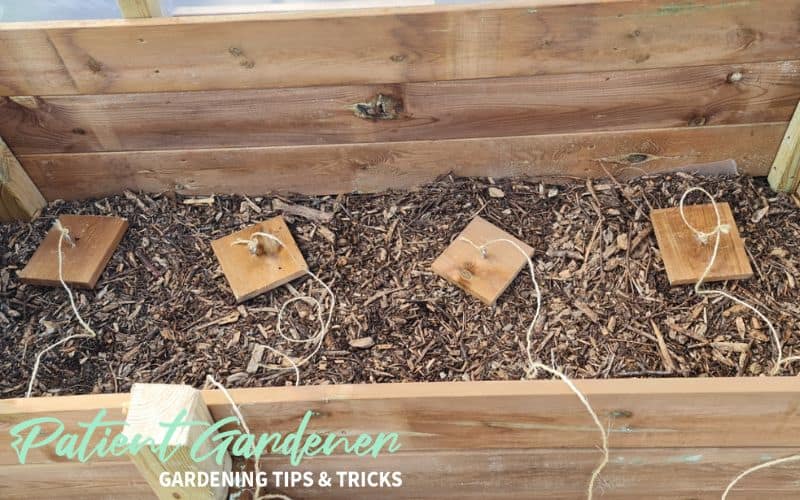
I screwed one of the below hooks into a small piece of flat timber. I then placed this at the bottom of my raised bed under all of the soil
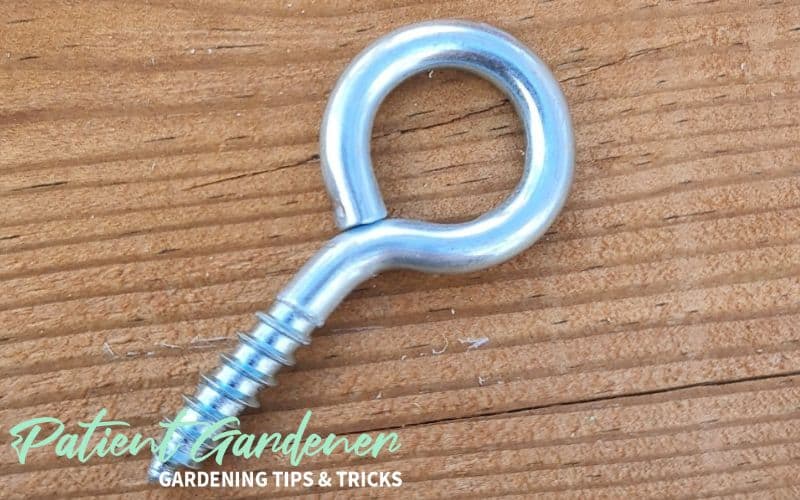
I attached the string to the hook and left it just hanging over the side of the raised bed before adding any soil.
It is important to get these into the position you want before adding soil. As soon as you start piling some soil on top they get very tough to move.
Step 3 - Attach to ceiling
Now you just need to figure out a way of attaching the string to the ceiling of your greenhouse. Now this will obviously depend on the design of your greenhouse and I can only show you how I did it. It may be that you have something you can simply tie your string to which would make this really simple.
I did not have anything to tie my string to so had to make something. I used an old piece of guttering I found on my allotment, reduce, reuse, recycle and all that.
I spanned this across the top of my greenhouse before screwing some of the same hooks into it and fastening the string on.

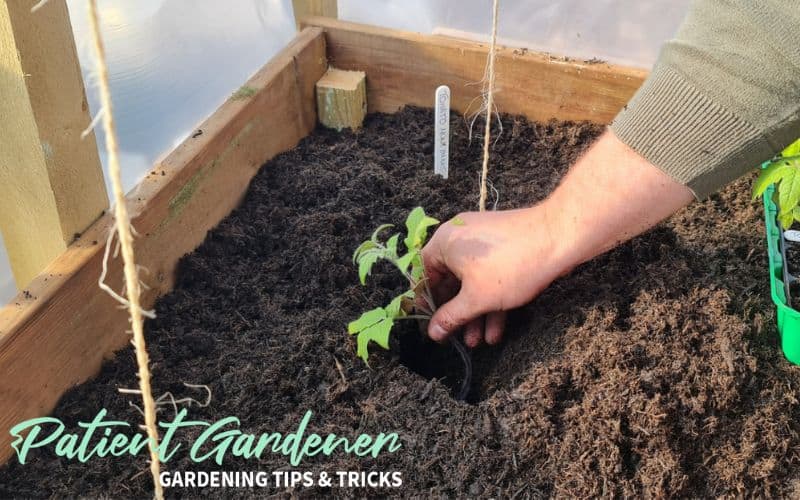
Step 4 - Plant your tomatoes
Now you need to fill or refill your beds or whatever growing setup you have. Once done you can plant your tomatoes next to the string.
Step 5 - Tieing your tomatoes in
Now you need to tie your tomatoes into the string as they grow. You should twist the tomatoes around the plant as they grow and tie them in for extra support.

Pin It!


Leave a Reply